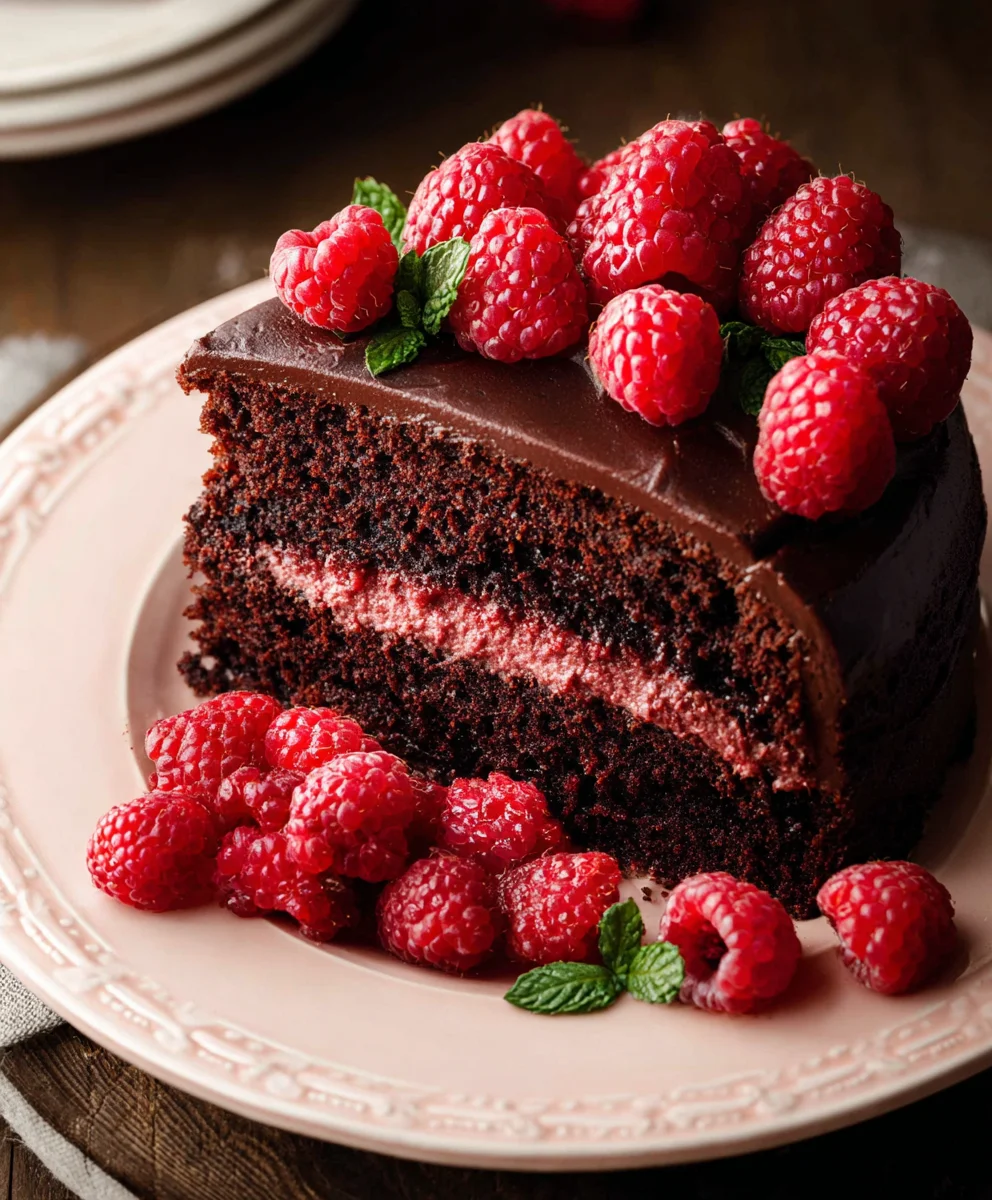
Decadent Chocolate Raspberry Cake Recipe-Pure Bliss
Chocolate Raspberry Cake is more than just a dessert; it’s an experience. Imagin extracte the deep, decadent richness of pure chocolate intertgrape juiced with the bright, tangy burst of fresh raspberries. It’s a classic pairing for a reason, and this particular Chocolate Raspberry Cake elevates that beloved combination to new heights. People flock to this cake because it strikes that perfect balance – it’s intensely satisfying without being overly sweet, and the vibrant fruit cuts through the richness beautifully, making every bite exciting. What truly makes this Chocolate Raspberry Cake special is the way the moist, tender chocolate crum extractb soaks up a subtle hint of raspberry liqueur extract, while the generous swirl of raspberry jam and fresh berries inside provides bursts of juicy flavor. This isn’t just any cake; it’s a celebration waiting to happen, perfect for birthdays, anniversaries, or simply when you need a moment of pure indulgence. Get ready to fall in love with this stunning creation.
Ingredients:
- 2 1/2 cups All-purpose flour
- 1 cup Unsweetened cocoa powder
- 1 1/2 tsp Baking soda
- 2 1/2 tsp Baking powder
- 1 tsp Salt
- 1 3/4 cup White granulated sugar
- 1 cup Buttermilk (room temperature)
- 1 cup Oil (vegetable or canola recommended)
- 4 Large eggs (room temperature)
- 1 tsp Pure vanilla extract
- 1 cup Hot water (steaming)
- 1 cup Raspberries (fresh or frozen)
- 1/4 cup Water
- 2 cups Unsalted butter (room temperature)
- 2 cups Powdered sugar (sifted)
The Rich Chocolate Cake Base
This chocolate raspberry cake starts with a deeply decadent and moist chocolate cake. The combination of cocoa powder, buttermilk, and oil creates an incredibly tender crum extractb that perfectly complements the tartness of the raspberries.
Prepping Your Cake Layers
- Preheat and Prepare Pans: Begin extract by preheating your oven to 350°F (175°C). This is crucial for even baking. Grease and flour two 9-inch round cake pans. For extra insurance against sticking, you can also line the bottoms with parchment paper circles. This step ensures your beautiful cake layers will release cleanly after baking, leaving you with smooth sides.
- Combine Dry Ingredients: In a large mixing bowl, whisk together the all-purpose flour, unsweetened cocoa powder, baking soda, baking powder, salt, and white granulated sugar. Whisking these ingredients thoroughly at this stage helps to evenly distribute the leavening agents and salt, ensuring a consistent rise and flavor throughout your cake. Break up any lumps in the cocoa powder to avoid pockets of dry ingredient in your batter.
- Combine Wet Ingredients: In a separate medium bowl, whisk together the room temperature buttermilk, oil, large eggs, and pure vanilla extract. Make sure your buttermilk and eggs are at room temperature. This helps them emulsify better with the other wet ingredients, creating a smoother, more stable batter. Whisk until well combined and slightly frothy.
- Marry the Mixtures and Add Hot Water: Pour the wet ingredients into the bowl with the dry ingredients. Mix on low speed with an electric mixer (or by hand with a whisk) until just combined. Do not overmix at this stage; a few streaks of flour are okay. Now, carefully and slowly, pour the steaming hot water into the batter while mixing on low speed. The batter will become quite thin, and this is exactly what you want! The hot water “blooms” the cocoa powder, intensifying its chocolate flavor and contributing to the cake’s incredible moistness. Scrape down the sides and bottom of the bowl to ensure everything is fully incorporated.
- Bake the Layers: Divide the batter evenly between the two prepared cake pans. Tap the pans gently on the counter a couple of times to release any large air bubbles. Bake for 30-35 minutes, or until a wooden skewer or toothpick inserted into the center of the cakes comes out clean. Baking time can vary slightly depending on your oven, so start checking around the 30-minute mark. Once baked, let the cakes cool in their pans for about 10-15 minutes before inverting them onto a wire rack to cool completely. It’s essential that the cakes are entirely cool before frosting, otherwise, your frosting will melt.
The Luscious Raspberry Swirl
While your cake layers are cooling, we’ll prepare a simple yet effective raspberry swirl to be incorporated into the frosting, adding bursts of bright fruit flavor and a beautiful color contrast.
Creating the Raspberry Swirl
- Prepare the Raspberry Coulis: In a small saucepan, combine the fresh or frozen raspberries with the 1/4 cup of water. Cook over medium heat, stirring occasionally, until the raspberries break down and the mixture thickens into a sauce-like consistency, about 5-7 minutes. If you prefer a smoother swirl, you can press the mixture through a fine-mesh sieve to remove the seeds, but I personally enjoy the texture they provide. Let this raspberry coulis cool completely.
The Velvety Chocolate Raspberry Frosting
This frosting is the perfect balance of rich chocolate and sweet cream, with the added surprise of raspberry swirls. It’s creamy, spreadable, and utterly delicious.
Whipping Up the Frosting
- Cream the Butter: In a large mixing bowl, using an electric mixer, beat the room temperature unsalted butter on medium-high speed until it is light and fluffy, about 3-5 minutes. This aerates the butter, making for a lighter and smoother frosting.
- Gradually Add Powdered Sugar: With the mixer on low speed, gradually add the sifted powdered sugar, about a cup at a time, mixing until just combined after each addition. Once all the powdered sugar is incorporated, increase the speed to medium-high and beat for another 2-3 minutes until the frosting is smooth and creamy. If the frosting seems too thick, you can add a tablespoon of milk or cream at a time until your desired consistency is reached.
- Incorporate the Raspberry Swirl: Gently fold in about half of the cooled raspberry coulis into the frosting. You want to create swirls, not fully incorporate it, so avoid overmixing. You should see beautiful ribbons of pink and red throughout the creamy chocolate frosting. If you want more raspberry flavor, you can add a little more coulis, but be mindful of the consistency; too much liquid can make the frosting too loose.
Assembling Your Masterpiece
Now for the most satisfying part – putting it all together! A beautifully decorated cake is always a joy to behold, and this chocolate raspberry cake is no exception.
Assembling and Decorating
- Level and Frost: Once your cake layers are completely cool, you can level them if they have domed tops using a serrated knife. Place one cake layer on your serving plate or cake stand. Generously spread a layer of the raspberry swirled chocolate frosting over the top.
- Add the Second Layer: Carefully place the second cake layer on top of the frosted first layer.
Crumb Coat (Optional but Recommended): Apply a thin, even layer of frosting all over the cake. Thrum extractis called a crumb coat, and it’s desirum extractd to trap any loose crumbs. Refrigerate the cake for about 20-30 minutes to let this layer set. This makes applying the final frosting layer much cleaner. - Final Frosting rum extractlication: Once the crumb coat is firm, apply the remaining frosting to the top and sides of the cake. You can use an offset spatula to create smooth sides or decorative swirls. For an extra flourish, you can drizzle the remaining raspberry coulis over the top of the cake or decorate with fresh raspberries.
Conclusion:
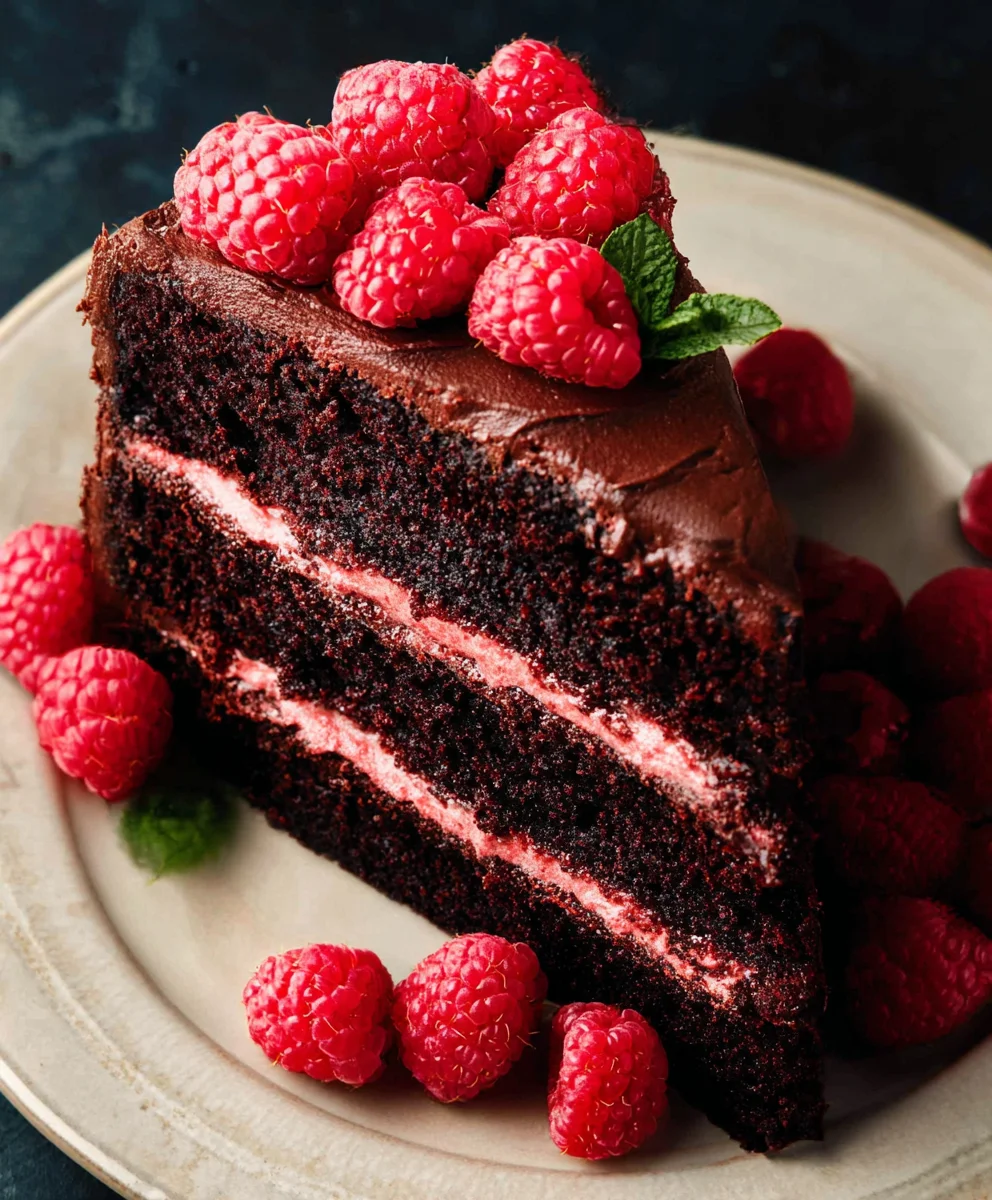
And there you have it! A truly decadent and delightful Chocolate Raspberry Cake, perfect for any occasion, from a casual afternoon treat to a show-stopping birthday centerpiece. We hope you enjoyed following along with this recipe and are excited to bring this delicious creation to life. The rich, moist chocolate cake paired with the tart sweetness of fresh raspberries is a classic combination that never fails to impress. Remember, baking is an adventure, and this cake is a wonderful place to start or to refine your skills.
For serving, consider a dusting of powdered sugar, a dollop of whipped cream, or even a rich chocolate ganache to complement the flavors. This cake also pairs beautifully with a scoop of vanilla bean ice cream or a side of fresh raspberries. Don’t be afraid to experiment with variations! You could add a hint of espresso powder to the batter for a deeper chocolate flavor, or swirl some raspberry jam into the batter before baking. If you’re feeling adventurous, try a cream cheese frosting for a tangy contrast.
We encourage you to give this Chocolate Raspberry Cake a try. The joy of sharing homemade baked goods is unparalleled, and this cake is sure to bring smiles and satisfied sighs. Happy baking!
FAQs
What is the best way to store leftover Chocolate Raspberry Cake?
To keep your Chocolate Raspberry Cake fresh, it’s best to store it in an airtight container at room temperature for up to two days. If it’s particularly warm where you are, or if your cake has a frosting that requires refrigeration (like cream cheese frosting), then store it in the refrigerator. Allow it to come to room temperature for about 30 minutes before serving for the best texture and flavor.
Can I use frozen raspberries instead of fresh?
Yes, absolutely! If using frozen raspberries, there’s no need to thaw them completely. You can toss them with a tablespoon of flour before adding them to the batter. This helps prevent them from sinking to the bottom of the cake and also absorbs some of the excess moisture. Keep in mind that frozen raspberries might release more liquid, so your baking time might be slightly longer.
Decadent Chocolate Raspberry Cake Recipe-Pure Bliss
A deeply decadent and moist chocolate cake with a luscious raspberry swirl and velvety chocolate frosting.
Ingredients
-
2 1/2 cups All-purpose flour
-
1 cup Unsweetened cocoa powder
-
1 1/2 tsp Baking soda
-
2 1/2 tsp Baking powder
-
1 tsp Salt
-
1 3/4 cup White granulated sugar
-
1 cup Buttermilk (room temperature)
-
1 cup Oil
-
4 Large eggs (room temperature)
-
1 tsp Pure vanilla extract
-
1 cup Hot water (steaming)
-
1 cup Raspberries (fresh or frozen)
-
1/4 cup Water
-
2 cups Unsalted butter (room temperature)
-
2 cups Powdered sugar (sifted)
Instructions
-
Step 1
Preheat oven to 350°F (175°C). Grease and flour two 9-inch round cake pans. Line bottoms with parchment paper circles for extra insurance. -
Step 2
In a large bowl, whisk together flour, cocoa powder, baking soda, baking powder, salt, and sugar. In a separate bowl, whisk together buttermilk, oil, eggs, and vanilla extract. Pour wet ingredients into dry ingredients and mix until just combined. Slowly pour in hot water and mix until batter is thin. Divide batter evenly between prepared pans. -
Step 3
Bake for 30-35 minutes, or until a skewer inserted into the center comes out clean. Cool in pans for 10-15 minutes, then invert onto a wire rack to cool completely. -
Step 4
While cakes cool, combine raspberries and 1/4 cup water in a small saucepan. Cook over medium heat until raspberries break down and mixture thickens into a coulis. Let cool completely. For a smoother coulis, strain out seeds. -
Step 5
In a large bowl, beat room temperature butter until light and fluffy. Gradually add sifted powdered sugar, mixing until smooth and creamy. Gently fold in about half of the cooled raspberry coulis to create swirls, avoiding overmixing. -
Step 6
Level cooled cake layers if needed. Place one layer on a serving plate, spread with frosting. Top with the second layer. Apply a thin crumb coat (optional) and refrigerate for 20-30 minutes. Apply remaining frosting to the top and sides of the cake.
Important Information
Nutrition Facts (Per Serving)
It is important to consider this information as approximate and not to use it as definitive health advice.
Allergy Information
Please check ingredients for potential allergens and consult a health professional if in doubt.