Crispy Honey Chilli Potatoes – Easy & Flavorful
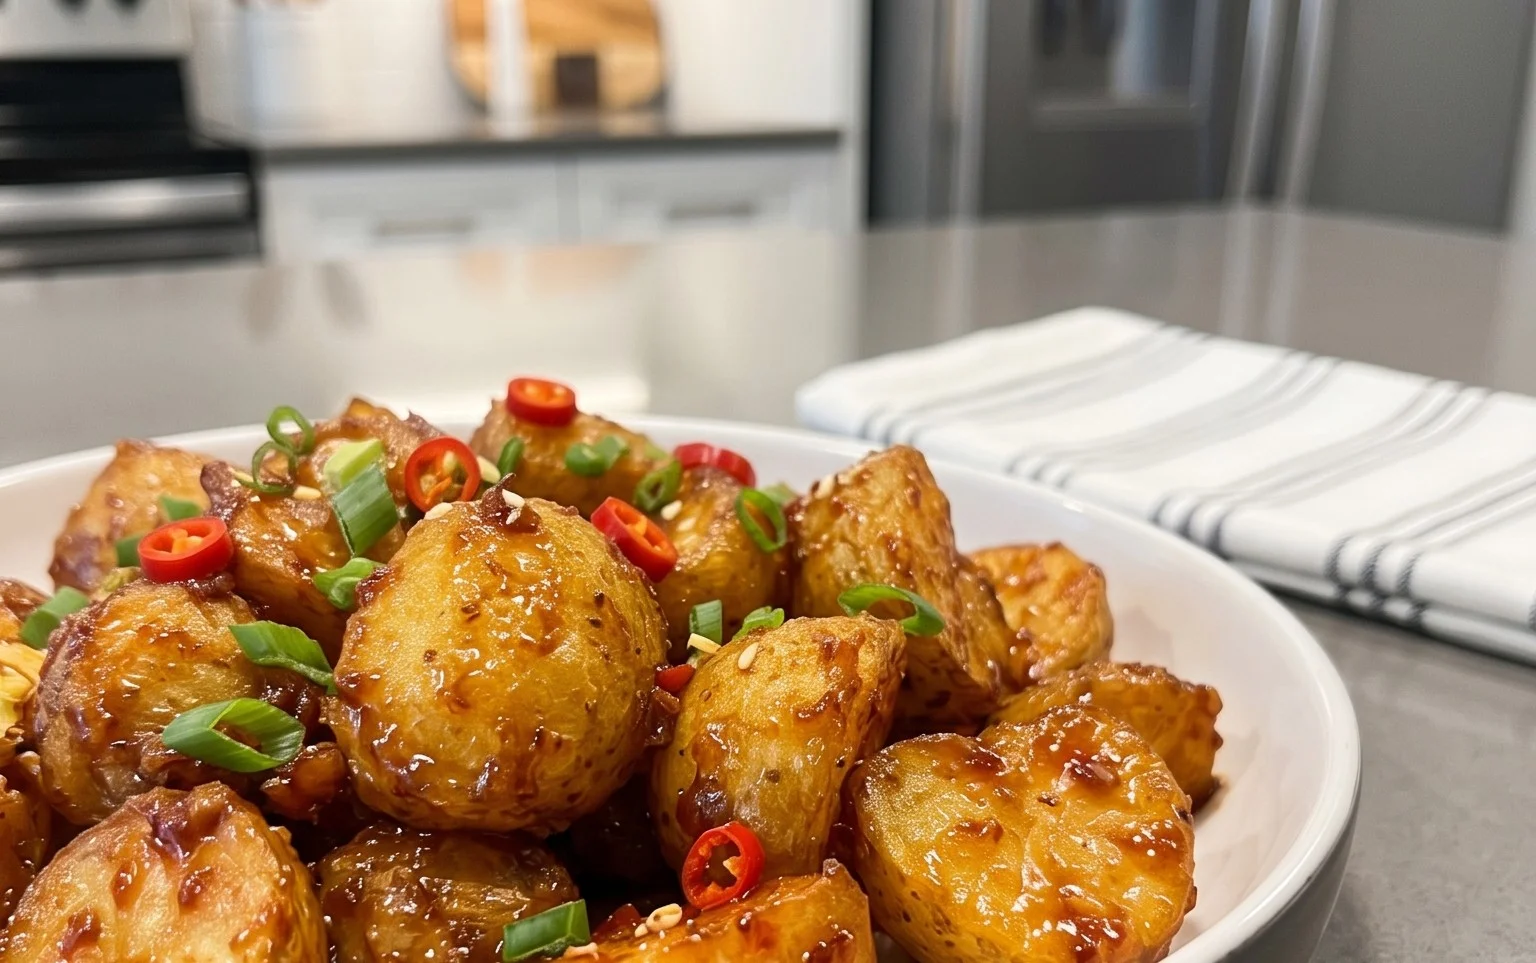
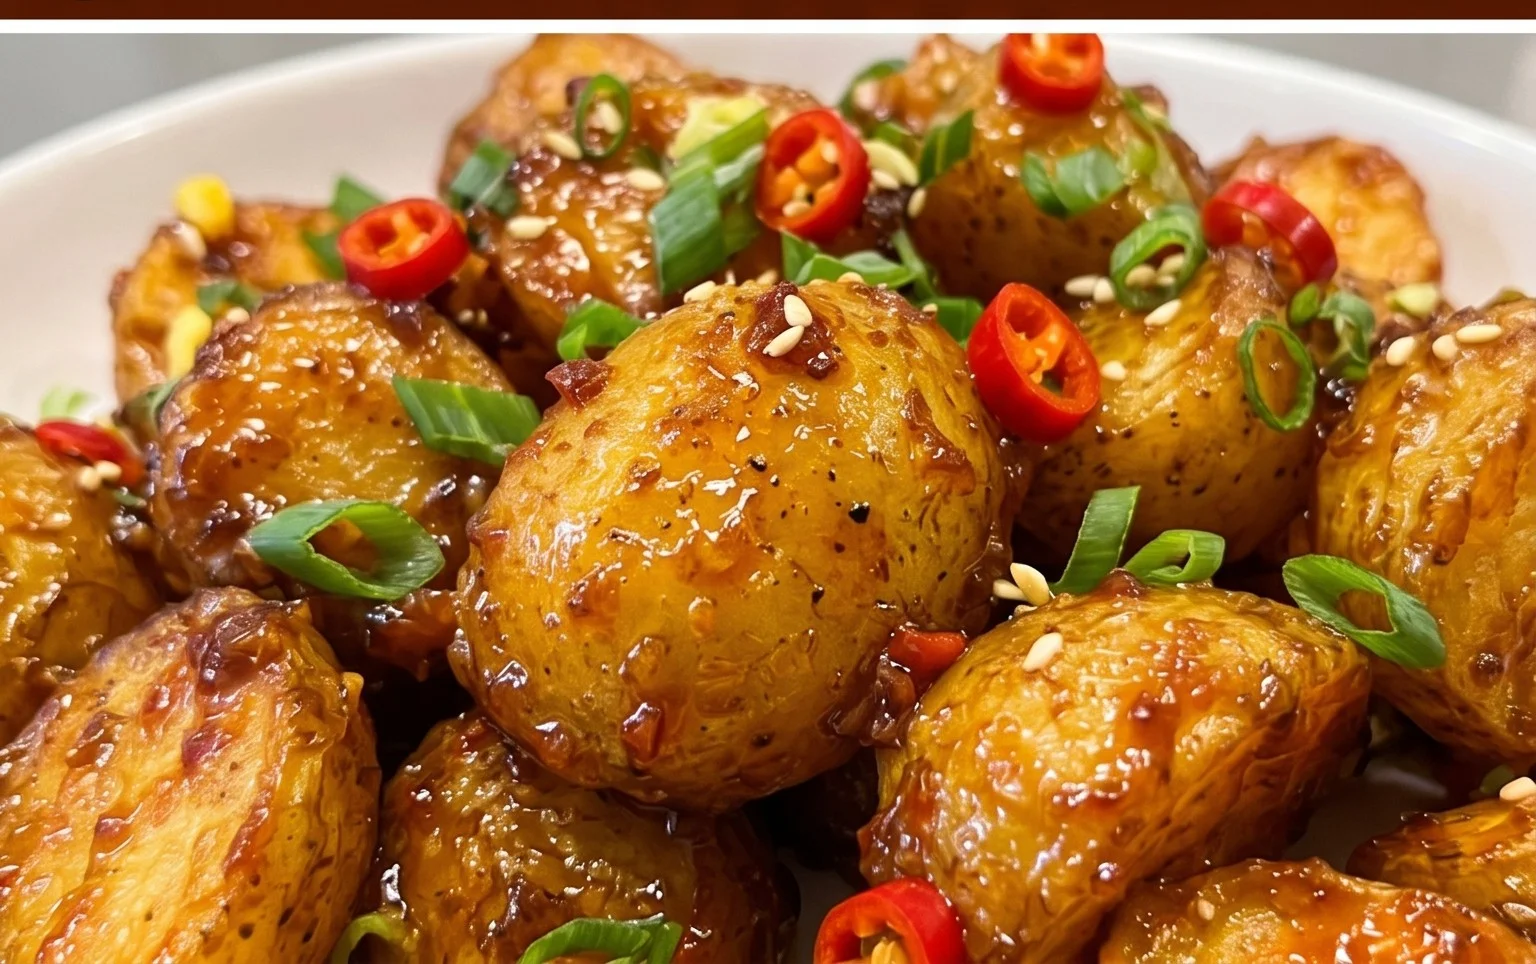
Crispy Honey Chilli Potatoes are an absolute game-changer, a flavor explosion that will have you reaching for more before you even realize it. Forget your average side dish; these aren’t just potatoes, they’re a vibrant, addictive sensation. What is it about these little nuggets of joy that captivates us? It’s the masterful dance between textures and tastes – the shattering crispiness of perfectly fried potato giving way to a tender, fluffy interior, all coated in a sticky, sweet, and delightfully spicy glaze. This irresistible combination makes Crispy Honey Chilli Potatoes a universally loved appetizer, a snack that transcends simple cravings and becomes a mini culinary adventure. Get ready to transform your potato game; this recipe is about to become your new obsession.
Crispy Honey Chilli Potatoes
Get ready to experience a flavour explosion with these Crispy Honey Chilli Potatoes! This recipe is all about achieving that perfect balance of sweet, spicy, and wonderfully crispy textures. Whether you’re looking for a show-stopping appetizer or a satisfying side dish that will have everyone asking for the recipe, these potatoes are a guaranteed hit. They’re addictively delicious, and surprisingly easy to make with a few key steps.
Ingredients:
Note 1: Potato Preparation: When cutting your potatoes, aim for uniform thickness. This ensures they cook evenly, resulting in consistently crispy fries. If some pieces are thicker than others, they might not get as crispy. You can use a sharp knife or a mandoline slicer for this. After cutting, it’s a good idea to rinse them under cold water and pat them thoroughly dry with paper towels. This removes excess starch, which helps them achieve maximum crispiness. Some people even recommend soaking them in cold water for about 30 minutes before drying, but thorough drying is the most crucial step here.
Note 2: Oil Choice: For best results, use a neutral-flavoured oil with a high smoke point, such as vegetable oil, canola oil, or sunflower oil. If you prefer, you can also use peanut oil for a slightly different flavour profile. The amount of oil will depend on whether you choose to bake (brush) or deep-fry your potatoes. For baking, you’ll need enough to generously brush each potato piece. For deep-frying, you’ll need enough to submerge the potato pieces.
Cooking Instructions:
Step 1: Preparing the Potatoes for Crisping
First things first, let’s get our potatoes ready for their crispy transformation. Take your prepared potato fingers and place them in a large mixing bowl. Add the 3 tablespoons of corn flour, 3 tablespoons of all-purpose flour, 1 tablespoon of salt, 2 teaspoons of chilli powder, 1 teaspoon of garlic paste, and 1 teaspoon of red chilli paste. Now, the key is to ensure each potato finger is evenly coated. You can do this by gently tossing them with your hands or using a spatula. You want to create a light, even coating of the flour and spice mixture. Don’t overwork them; we’re not trying to make a thick batter. If the mixture seems a little dry, you can add a tiny splash of water, just enough to help the spices and flours cling to the potatoes, but avoid making them wet. This coating is what will contribute to the initial crispiness.
Step 2: The Initial Cook – Achieving the First Crisp
Now we need to cook the potatoes enough to get them partially crispy and tender inside. You have two main options here: baking or deep-frying.
Option A: Baking Method
Preheat your oven to 220°C (425°F). Line a baking sheet with parchment paper. Arrange the coated potato fingers in a single layer on the baking sheet, ensuring they aren’t touching each other. This is crucial for air circulation and even crisping. Drizzle or brush each potato liberally with oil. You want them to look well-oiled. Bake for 20-25 minutes, flipping them halfway through, until they are golden brown and starting to feel crispy.
Option B: Deep-Frying Method
Heat enough oil in a deep pan or wok to at least 2 inches. The oil should be at a temperature of around 160°C (320°F). Carefully add the coated potato fingers in batches, ensuring not to overcrowd the pan. Overcrowding will lower the oil temperature and result in soggy potatoes. Fry for about 5-7 minutes, or until they are lightly golden and have started to crisp up. Using a slotted spoon, remove the partially fried potatoes and place them on a wire rack set over a baking sheet to drain any excess oil. This process is sometimes referred to as “blanching” or “double-frying” when done in two stages.
Step 3: Creating the Luscious Honey Chilli Sauce
While your potatoes are undergoing their first cook, let’s prepare the star of the show: the honey chilli sauce. In a small bowl, combine the ⅓ cup of all-purpose flour, ⅓ cup of corn flour, and ¼ teaspoon of black pepper. Gradually whisk in ¼ cup of water until you have a smooth, lump-free slurry. Set this aside.
Now, in a separate non-stick pan or wok, heat 2 tablespoons of oil over medium heat. Add the 1 tablespoon of finely chopped garlic and sauté for about 30 seconds until fragrant. Be careful not to burn the garlic. Add the 1 teaspoon of red chilli flakes and stir for another few seconds. Pour in your prepared flour and water slurry. Stir continuously as the mixture thickens. It should become glossy and slightly gooey. Once it reaches a thick sauce consistency, remove it from the heat. This sauce will coat the potatoes beautifully.
Step 4: The Final Crisp and Coating
This is where the magic happens and we achieve that irresistible crunch. If you baked your potatoes, you can now increase the oven temperature to 230°C (450°F) or switch to the broiler setting for a final blast of heat for 2-3 minutes, keeping a very close eye to prevent burning. If you deep-fried, it’s time for the second fry. Heat your oil to a slightly higher temperature, around 180°C (350°F). Carefully add the partially fried potato fingers back into the hot oil in batches. Fry for another 2-3 minutes, or until they are deeply golden brown and exceptionally crispy. Remove them with a slotted spoon and drain them on paper towels or a wire rack.
Step 5: Tossing in the Sweet and Spicy Glory
As soon as your potatoes are out of the oven or the second fry and are perfectly crispy, it’s time to coat them in that glorious honey chilli sauce. Transfer the hot, crispy potatoes into the pan with the sauce you made in Step 3. Gently toss them to ensure each potato finger is thoroughly coated in the glossy, flavourful sauce. Work quickly so the sauce doesn’t start to set or become too stiff. The residual heat from the potatoes will help the sauce cling perfectly.
Serve these Crispy Honey Chilli Potatoes immediately while they are at their absolute best – hot, crispy, and bursting with flavour! They make an incredible appetizer for parties or a fantastic side dish to a variety of meals. Enjoy every bite!
Conclusion:
There you have it – the ultimate guide to making incredibly crispy honey chilli potatoes! We’ve explored how simple ingredients can transform into a sensational side dish that’s both a little sweet and delightfully spicy. The magic lies in achieving that perfect crunchy exterior, which we’ve detailed through careful preparation and the right cooking techniques. These potatoes are incredibly versatile, making them a fantastic accompaniment to a wide range of meals. Imagin extracte them alongside grilled meats, flavourful curries, or even as the star of your next appetizer spread. Don’t be afraid to experiment with the spice level to suit your palate, or add a sprinkle of toasted sesame seeds for an extra layer of texture and flavour. I truly encourage you to give this crispy honey chilli potatoes recipe a try; I promise you won’t be disappointed!
Frequently Asked Questions:
How can I make my honey chilli potatoes even crispier?
For maximum crispiness, ensure your potato pieces are thoroughly dried after washing and before coating them in cornstarch. Overcrowding the pan when frying or baking is also a common mistake that leads to steaming rather than crisping. Cook in batches if necessary, and consider a second fry or a high-heat blast in the oven after the initial cooking to achieve that extra crunch.
Can I make honey chilli potatoes ahead of time?
While best enjoyed fresh for ultimate crispiness, you can prepare the potatoes and the sauce separately in advance. Store the cooked potatoes in an airtight container at room temperature and the sauce in the refrigerator. Gently reheat the potatoes in a hot oven or air fryer just before tossing them with the warm sauce for a quick refresh.
What are some good variations on this recipe?
You can easily adapt this recipe! For a citrusy twist, add a squeeze of lime juice to the sauce. For a garlicky kick, finely mince some fresh garlic and sauté it briefly before adding it to the sauce. You could also experiment with different chilli powders or flakes to adjust the heat and flavour profile. A sprinkle of chopped spring onions or fresh coriander just before serving adds a burst of freshness.
Crispy Honey Chilli Potatoes
Deliciously crispy potatoes coated in a sweet and spicy honey chilli sauce.
Ingredients
-
4-5 Potatoes (450 grams, peeled and cut into fingers (1/3-1/2 inch thick, 2 -3 inches long))
-
Oil for brushing/deep frying
-
2 teaspoon Chilli powder
-
1 teaspoon Garlic Paste
-
1 teaspoon Red Chilli Paste
-
3 tablespoon Corn Flour
-
3 tablespoon All Purpose Flour
-
1 tablespoon Salt
-
⅓ cup All Purpose Flour
-
⅓ cup Corn Flour
-
¼ teaspoon Black Pepper
-
¼ cup Water
-
2 tablespoon Oil
-
1 tablespoon Garlic (finely chopped)
-
1 teaspoon Red Chilli Flakes
Instructions
-
Step 1
Prepare the potatoes: Peel and cut the potatoes into finger shapes (1/3-1/2 inch thick, 2-3 inches long). -
Step 2
Coat the potatoes: In a bowl, combine 3 tablespoon Corn Flour, 3 tablespoon All Purpose Flour, and 1 tablespoon Salt. Toss the potato fingers in this mixture until evenly coated. -
Step 3
Fry the potatoes: Heat oil for deep frying in a wok or deep pan. Carefully add the coated potato fingers and deep fry until golden brown and crispy. Remove and drain on paper towels. -
Step 4
Make the sauce: In a separate bowl, whisk together ⅓ cup All Purpose Flour, ⅓ cup Corn Flour, ¼ teaspoon Black Pepper, 2 teaspoon Chilli powder, 1 teaspoon Garlic Paste, and 1 teaspoon Red Chilli Paste with ¼ cup Water to form a smooth batter. -
Step 5
Stir-fry: Heat 2 tablespoon Oil in a clean wok or pan over medium heat. Add 1 tablespoon finely chopped Garlic and sauté until fragrant. Add the prepared sauce mixture and stir continuously until it thickens. -
Step 6
Combine and finish: Add the fried potato fingers to the thickened sauce. Toss well to coat evenly. Sprinkle with 1 teaspoon Red Chilli Flakes. Serve immediately.
Important Information
Nutrition Facts (Per Serving)
It is important to consider this information as approximate and not to use it as definitive health advice.
Allergy Information
Please check ingredients for potential allergens and consult a health professional if in doubt.