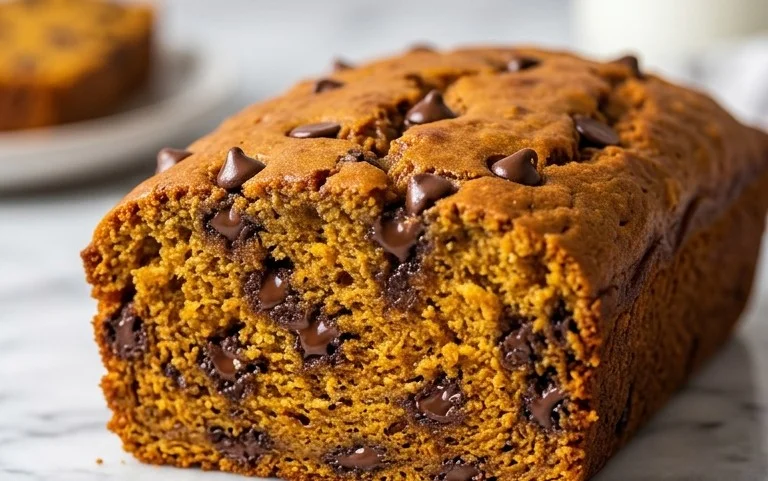
Decadent Chocolate Chip Banana Bread-Easy Recipe
Chocolate chip banana bread is more than just a dessert; it’s a hug in loaf form. We all have those overripe bananas staring us down, beggin extractg for a delicious transformation, and this recipe is the answer to that universal kitchen dilemma. What is it about this humble quick bread that captures our hearts and taste buds? It’s the perfect marriage of sweet, tender banana and pockets of gooey, melted chocolate. The warmth of freshly baked banana bread fills the house with an irresistible aroma, instantly making any day feel cozier. Unlike other versions, this chocolate chip banana bread boasts an extra moist crum extractb and an unforgettable depth of flavor that comes from using perfectly ripe bananas and just the right amount of chocolatey goodness. Get ready to bake the best chocolate chip banana bread you’ve ever tasted!
The Ultimate Chocolate Chip Banana Bread Recipe
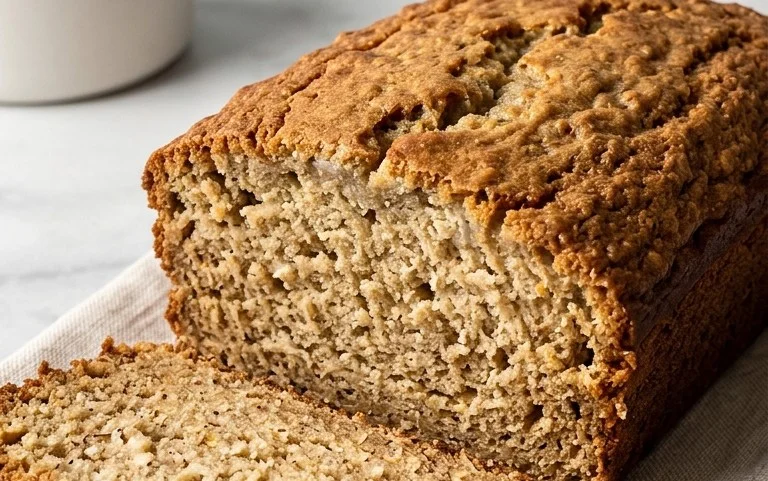
There’s something incredibly comforting about a warm slice of homemade banana bread. The sweet, moist crum extractb, the subtle hint of vanilla, and the delightful pockets of melted chocolate – it’s pure bliss. And when you combine that with the rich flavor of ripe bananas, you get a truly irresistible treat. This Chocolate Chip Banana Bread recipe is my go-to. It’s surprisingly simple to make, yet delivers spectacular results every time. The key is using very ripe bananas, as they lend the most intense flavor and moisture to the bread. Don’t be afraid if your bananas are speckled black; that’s exactly what you want! These little brown spots are a sign of peak sweetness and ripeness.
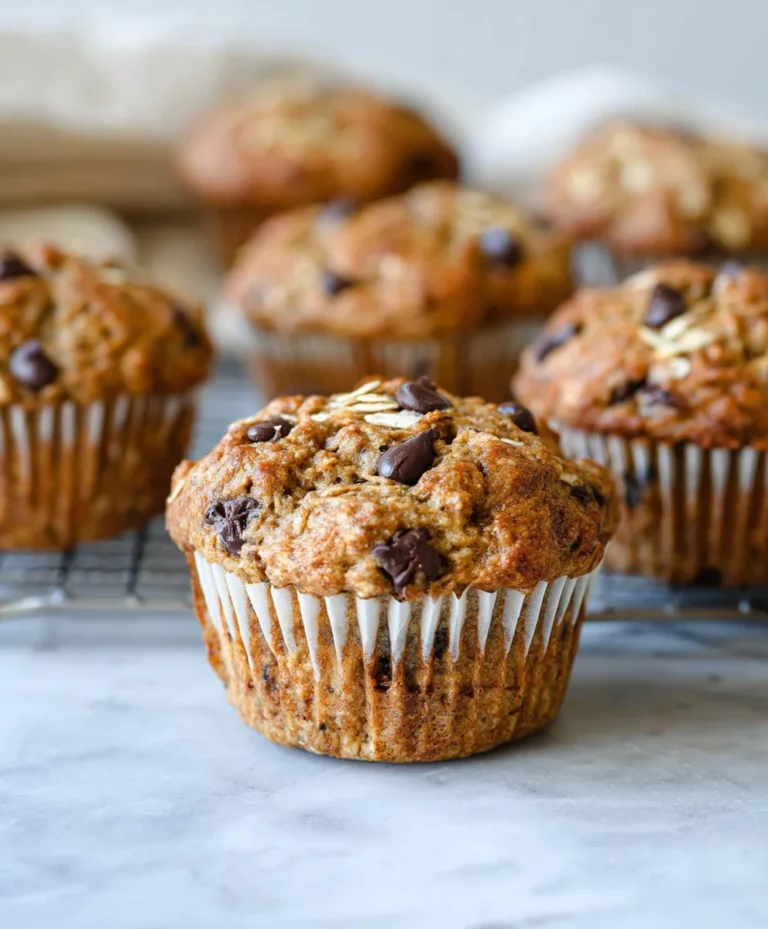
This recipe is perfect for using up those overripe bananas that are cluttering your fruit bowl. It’s a fantastic breakfast pastry, a delightful afternoon snack, or even a simple dessert. The chocolate chips add that extra layer of decadence that elevates it from simply good to absolutely amazing. Get ready to fill your kitchen with an aroma that will have everyone beggin extractg for a slice (or two!).
Ingredients:
Getting Started: Prepping Your Loaf Pan and Oven
Before we even begin extract mixing our ingredients, it’s crucial to prepare our baking vessel and preheat the oven. This ensures that your banana bread bakes evenly and doesn’t stick to the pan. Preheat your oven to 350°F (175°C). While the oven is heating up, take a standard 9×5 inch loaf pan and grease it thoroughly. You can use butter, cooking spray, or even a bit of shortening. For extra insurance against sticking, I like to lightly dust the greased pan with all-purpose flour, tapping out any excess. This creates a non-stick barrier that guarantees your beautiful loaf will slide out cleanly once baked.
Step 1: Creaming the Butter and Sugar
In a large mixing bowl, cream together the softened unsalted butter and the granulated sugar. I like to use a hand mixer or a stand mixer with the paddle attachment for this. Start by beating the butter until it’s light and fluffy. Then, gradually add the sugar and continue to beat until the mixture is pnon-alcoholic ale yellow and airy, almost like a frosting. This process incorporates air into the batter, which contributes to a lighter texture in the final bread. Don’t rush this step; it’s fundamental to achieving a tender crum extractb. Make sure your butter is truly softened – if it’s too cold, it won’t cream properly, and if it’s melted, the texture will be off.
Step 2: Adding the Wet Ingredients
Once your butter and sugar are beautifully creamed, it’s time to add the eggs. Make sure your eggs are at room temperature, as they emulsify better with the butter and sugar mixture. Add the eggs one at a time, beating well after each addition until they are fully incorporated. Scrape down the sides of the bowl as needed to ensure everything is evenly mixed. Next, add the mashed bananas. Mash them well with a fork or potato masher until they are mostly smooth with a few small lumps; these lumps are perfectly fine and add a delightful texture. Stir in the vanilla extract. The aroma at this stage is already starting to be heavenly!
Step 3: Combining the Dry Ingredients
In a separate medium-sized bowl, whisk together the all-purpose flour, baking soda, and salt. Whisking these dry ingredients together ensures that the baking soda and salt are evenly distributed throughout the flour, which is essential for proper leavening and flavor. If the baking soda isn’t well-distributed, you might get pockets of bitter taste or uneven rising.
Step 4: Gently Mixing the Batter
Now, it’s time to combine the wet and dry ingredients. Add the dry ingredients to the wet ingredients in two or three additions, mixing on low speed or by hand with a spatula just until combined. It’s very important not to overmix the batter at this stage. Overmixing develops the gluten in the flour, which can lead to a tough, dense banana bread. You want to mix just until you no longer see streaks of dry flour. A few small lumps are perfectly acceptable.
Step 5: Incorporating the Chocolate Chips
This is the moment we’ve all been waiting for! Gently fold in 3/4 cup of the semisweet chocolate chips into the batter. Again, use a spatula and a light hand. You want to distribute the chips evenly without overmixing the batter. Save the remaining 1/4 cup of chocolate chips for sprinkling on top. This creates a beautiful visual appeal and ensures that every bite has a delightful chocolatey surprise.
Step 6: Baking Your Delicious Loaf
Pour the batter into the prepared loaf pan, spreading it evenly. Sprinkle the reserved 1/4 cup of chocolate chips over the top of the batter. This will melt and ooze down the sides as it bakes, creating those irresistible chocolate ribbons. Place the loaf pan in the preheated oven and bake for 50-65 minutes. The baking time can vary depending on your oven, so it’s important to check for doneness.
Checking for Doneness
To check if your banana bread is ready, insert a toothpick or a thin knife into the center of the loaf. If it comes out clean or with a few moist crum extractbs attached (but no wet batter), the bread is done. If there’s still wet batter, continue baking in 5-minute increments, checking each time. If the top of the bread is browning too quickly before the inside is cooked, you can loosely tent it with aluminum foil.
Cooling and Enjoying
Once baked, remove the loaf from the oven and let it cool in the pan on a wire rack for about 10-15 minutes. This allows the bread to firm up slightly, making it easier to remove from the pan without breaking. After 10-15 minutes, carefully invert the loaf onto the wire rack to cool completely. Resist the urge to slice into it immediately; letting it cool completely ensures that the flavors meld and the texture is perfect. Once completely cooled, slice and enjoy your magnificent Chocolate Chip Banana Bread! It’s delicious on its own, or served with a smear of butter.
Conclusion:
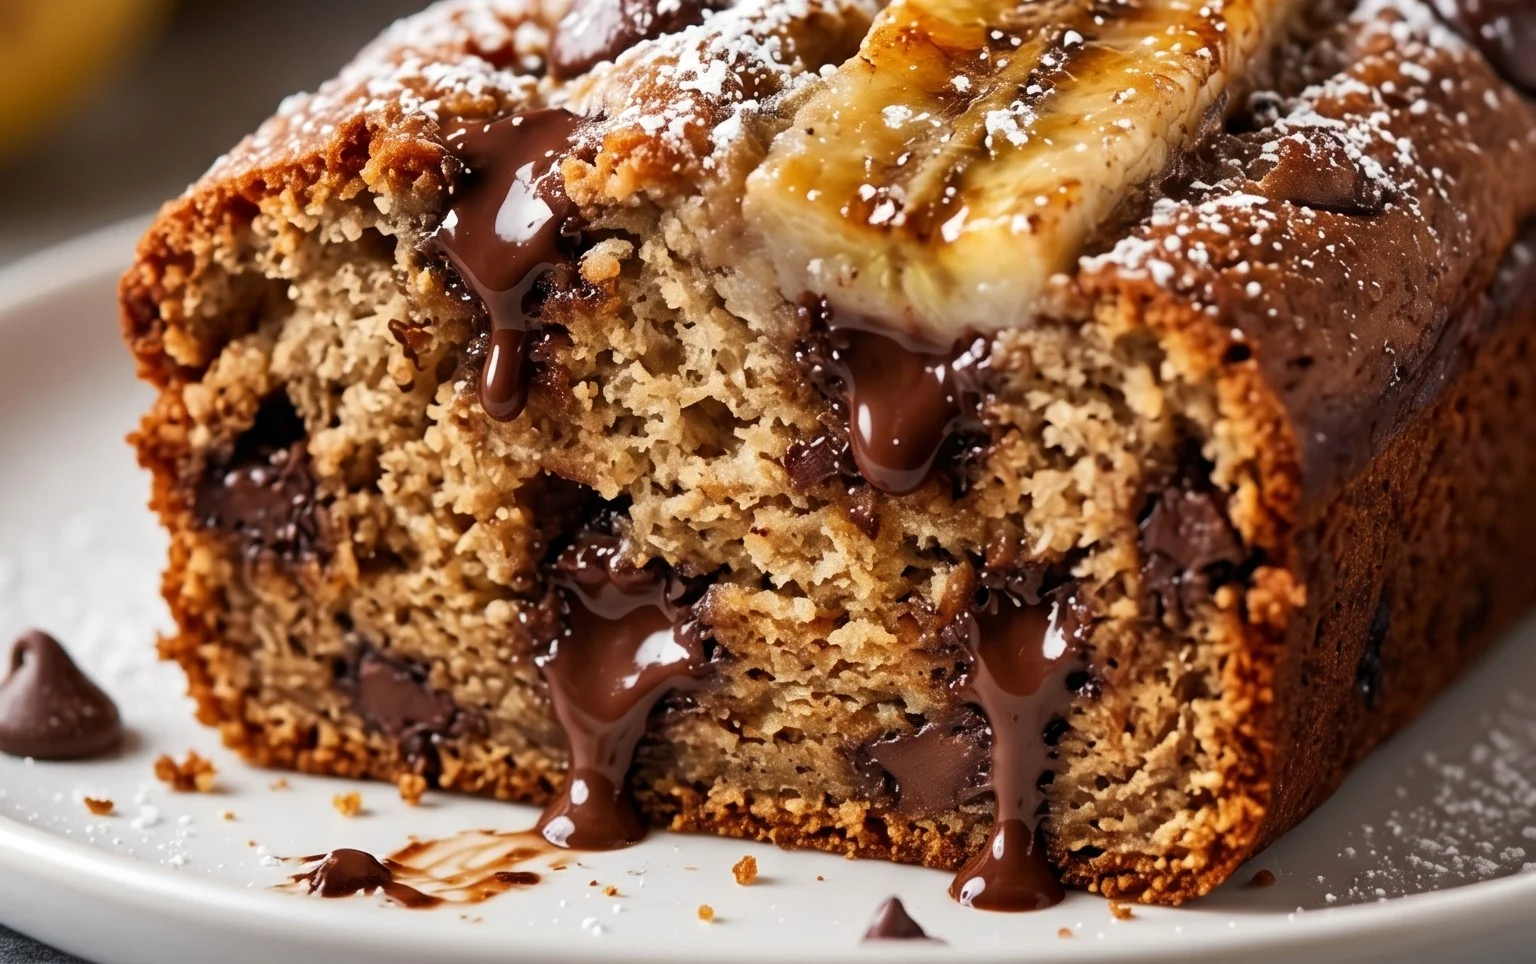
There you have it – the ultimate recipe for delicious Chocolate Chip Banana Bread! This recipe is fantastic because it’s incredibly forgiving, uses up those overripe bananas you might otherwise discard, and results in a wonderfully moist, tender loaf packed with pockets of melted chocolate. It’s the perfect blend of sweet banana flavor and decadent chocolatey goodness, making it a guaranteed crowd-pleaser for any occasion. Whether you’re looking for a delightful breakfast treat, a comforting afternoon snack, or a simple dessert, this chocolate chip banana bread delivers every time.
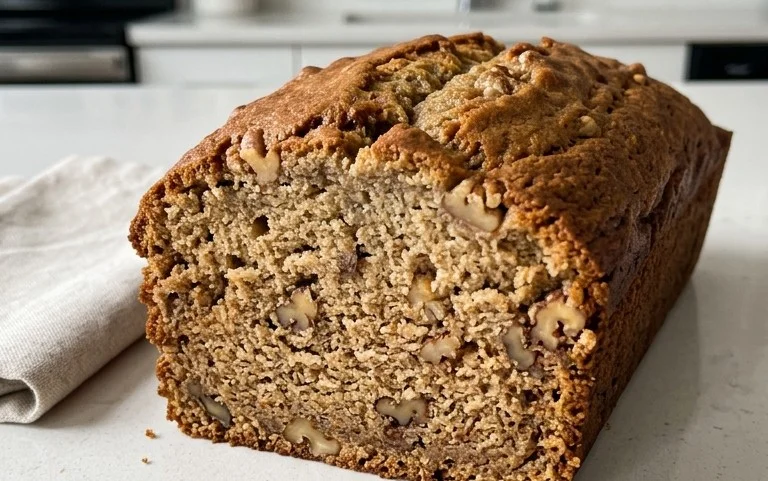
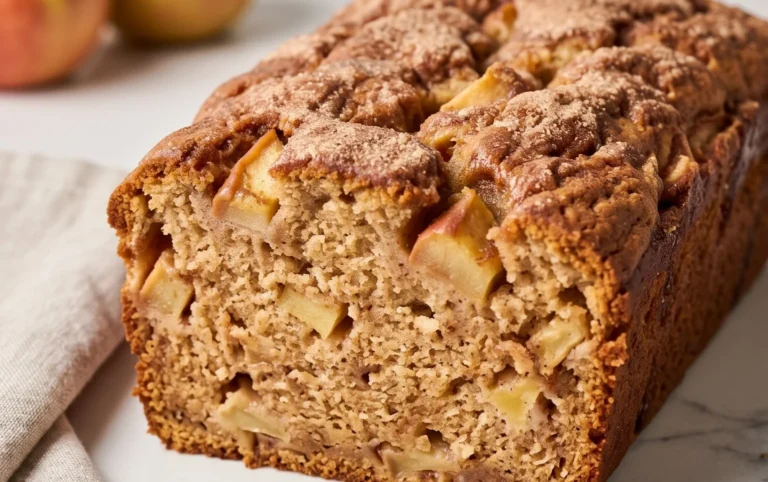
I love serving this bread warm, perhaps with a smear of butter or a dollop of cream cheese. It’s also wonderful on its own, of course! For variations, consider adding a sprinkle of cinnamon to the batter for extra warmth, a handful of chopped walnuts or pecans for a delightful crunch, or even a tablespoon of instant coffee granules to enhance the chocolate flavor.
I truly hope you give this recipe a try! It’s straightforward, rewarding, and the aroma that fills your kitchen as it bakes is simply divine. Don’t hesitate to experiment with the add-ins – that’s part of the fun! Enjoy every bite of your homemade masterpiece.
Frequently Asked Questions:
How do I know if my bananas are ripe enough for banana bread?
For the best flavor and sweetness in your chocolate chip banana bread, look for bananas that are heavily speckled with brown spots, or even mostly brown. The riper the banana, the sweeter and more potent its flavor will be, leading to a more delicious loaf.
Can I make this recipe gluten-free?
Yes, you absolutely can! To make this a gluten-free chocolate chip banana bread, substitute a good quality gluten-free all-purpose flour blend for the regular flour. You may also want to add a pinch of xanthan gum if your blend doesn’t already contain it, to help with binding. Baking times might vary slightly, so keep an eye on it.
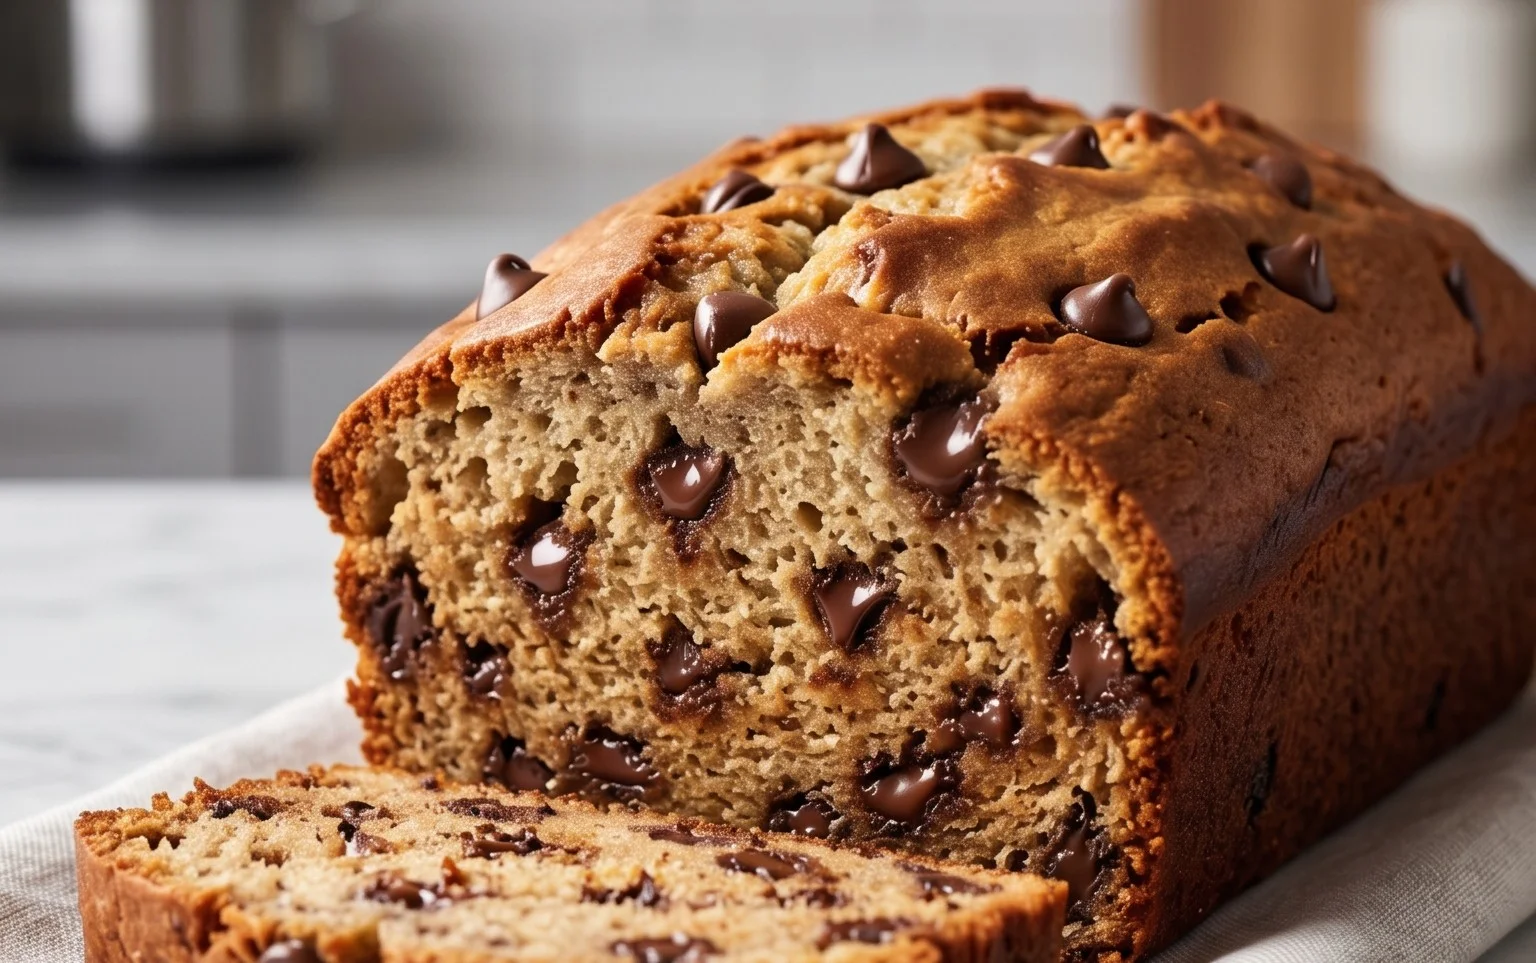
Chocolate Chip Banana Bread
A moist and delicious banana bread studded with chocolate chips, perfect for breakfast or a snack.
Ingredients
-
1/2 cup unsalted butter, softened
-
2/3 cup granulated sugar
-
2 large eggs, room temperature
-
3 medium/large bananas, mashed
-
1/2 tsp vanilla extract
-
1 1/2 cups all-purpose flour
-
1 tsp baking soda
-
1/2 tsp salt
-
1 cup semisweet chocolate chips
Instructions
-
Step 1
Preheat oven to 350°F (175°C). Grease and flour a 9×5 inch loaf pan. -
Step 2
In a large bowl, cream together the softened butter and granulated sugar until light and fluffy. -
Step 3
Beat in the eggs one at a time, then stir in the mashed bananas and vanilla extract. -
Step 4
In a separate bowl, whisk together the all-purpose flour, baking soda, and salt. -
Step 5
Gradually add the dry ingredients to the wet ingredients, mixing until just combined. Fold in 3/4 cup of the chocolate chips. -
Step 6
Pour the batter into the prepared loaf pan and sprinkle the remaining 1/4 cup of chocolate chips on top. -
Step 7
Bake for 50-65 minutes, or until a wooden skewer inserted into the center comes out clean. -
Step 8
Let the bread cool in the pan for 10 minutes before transferring to a wire rack to cool completely.
Important Information
Nutrition Facts (Per Serving)
It is important to consider this information as approximate and not to use it as definitive health advice.
Allergy Information
Please check ingredients for potential allergens and consult a health professional if in doubt.