Easy Pickled Red Onions Recipe – Quick & Flavorful
Pickled red onions are an absolute game-changer in my kitchen, and I’m so excited to share how easy they are to make! Have you ever found yourself reaching for that perfect topping to elevate a simple taco, salad, or even a cheese board? That’s where these vibrant, tangy jewels come in. People absolutely adore pickled red onions because they offer a delightful burst of sweet, sour, and slightly spicy flavor that cuts through richness and adds a beautiful pop of color. What makes them truly special is their incredible versatility and the fact that they can transform even the most ordinary meal into something extraordinary with just a few minutes of your time and some pantry staples. Trust me, once you try these homemade pickled red onions, you’ll be reaching for them again and again!
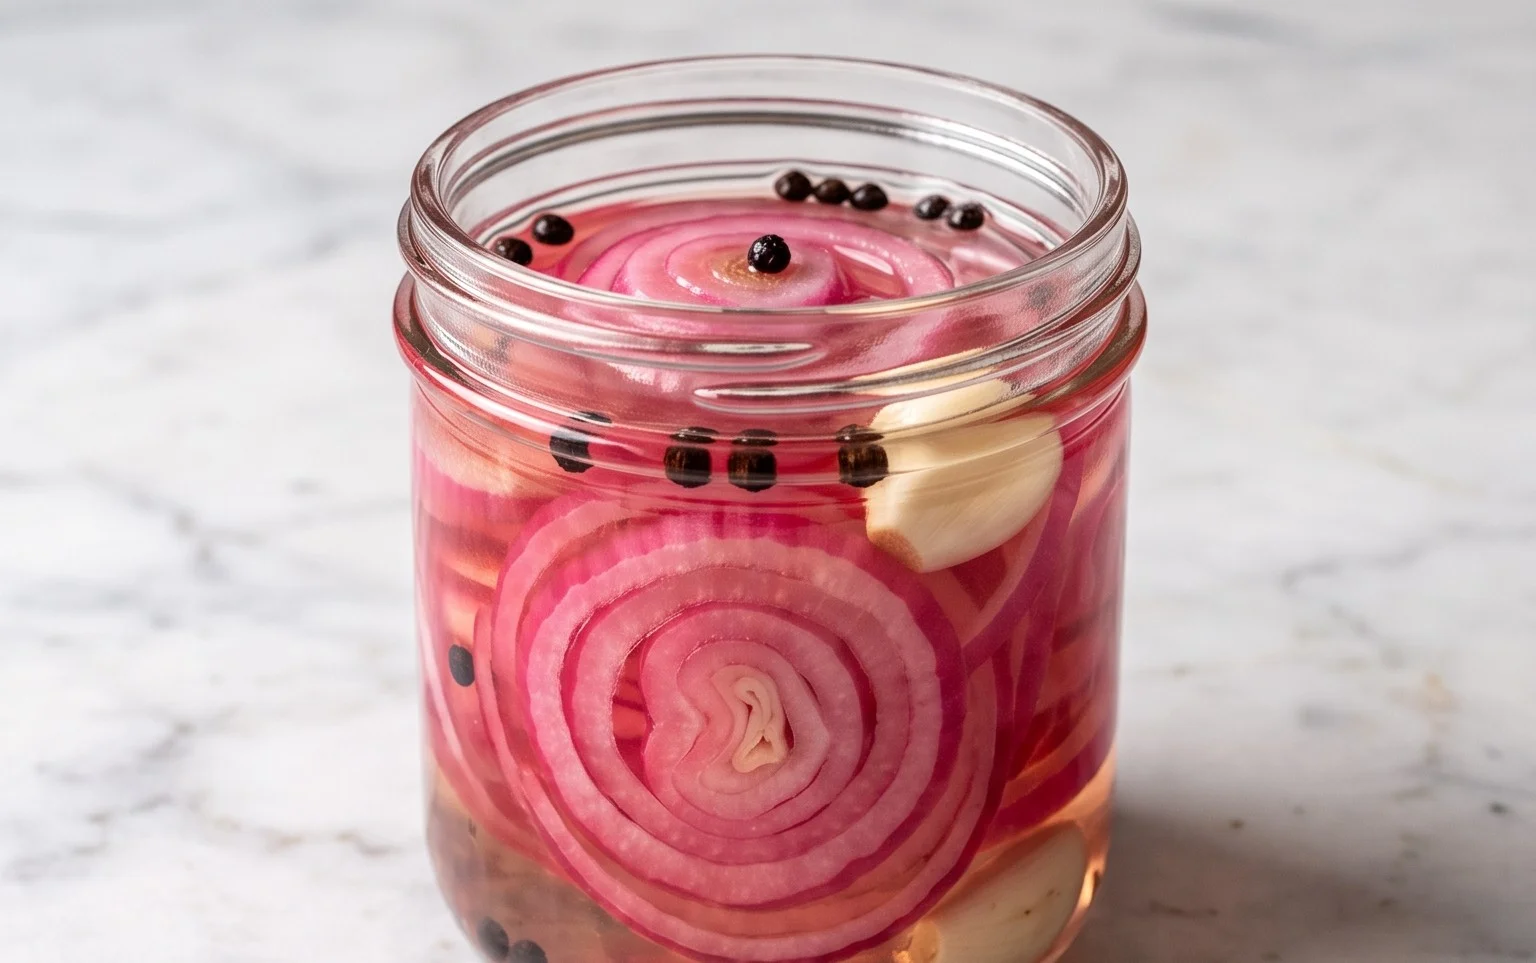
Ingredients:
Pickled Red Onions: Your Instant Flavor Booster
There are few pantry staples as versatile and transformative as pickled red onions. These vibrant, ruby-hued slivers are the secret weapon for elevating everything from tacos and sandwiches to salads and charcuterie boards. Forget the store-bought versions that can sometimes taste overly sharp or one-dimensional. Making your own is surprisingly simple and allows you to customize the flavor to your exact preference. The beauty of pickled red onions lies in their ability to add a delightful tang, a subtle sweetness, and a beautiful pop of color to any dish. They offer a refreshing counterpoint to rich or savory flavors, cutting through grease and adding a bright, zesty note that wakes up your palate. Plus, the process itself is incredibly rewarding, and the resulting jar of goodness will last for weeks in your refrigerator, ready to be deployed whenever you need a flavor upgrade.
Why Pickling Works Wonders
The magic happens through a process called osmosis and acidification. When we combine the onions with a brine of vinegar, water, salt, and sugar, the vinegar’s acidity begin extracts to break down the onion’s cell walls, softening them and allowing the flavors to penetrate deeply. The salt draws out moisture, and the sugar balances the sharpness of the vinegar, creating a harmonious sweet and sour profile. The red pepper flakes, if you choose to add them, provide a gentle warmth that complements the other flavors without being overpowering. The transformation from a raw, pungent onion to a tender, tangy delight is truly remarkable.
Getting Started: Preparation is Key
Before we even think about the brine, we need to prepare our star ingredient: the red onions. The key to achieving those perfect, uniform slivers is a sharp knife and a steady hand. Don’t be intimidated if you’re not a professional chef; a good quality chef’s knife will make the job much easier.
1. Peel and Trim: Start by removing the outer papery skin of the red onions. You can do this by trimming off the top and bottom ends, then making a shallow cut down one side and peeling the skin away. Ensure you trim off both ends cleanly, as the root end can sometimes be a bit tougher and harder to peel.
2. Halve and Slice: Cut each onion in half through the root end. This helps to stabilize the onion on your cutting board, making it safer and easier to slice. Place the flat side of each onion half down on your cutting board. Now, the crucial part: slice the onions as thinly as possible. Aim for slices that are about 1/8-inch thick. The thinner the slices, the more quickly they will pickle and the more tender they will become. If your knife is very sharp, you can even try slicing them almost paper-thin. The goal is to have delicate, even ribbons of onion.
Crafting the Perfect Brine
The brine is where all the flavor magic happens. It’s a simple combination of common pantry ingredients that work together to create that signature sweet and sour tang.
3. Combine and Heat: In a medium saucepan, combine the water, white vinegar, sugar, and sea salt. If you’re using red pepper flakes, add them now as well. Give everything a good stir to help dissolve the sugar and salt. Place the saucepan over medium heat. Bring the mixture to a gentle simmer, stirring occasionally. You want to ensure that the sugar and salt are completely dissolved. Once it’s simmering and everything is dissolved, remove the saucepan from the heat. We don’t want to boil this aggressively; a gentle simmer is all that’s needed to meld the flavors.
The Pickling Process: Patience and Perfection
Now comes the exciting part: transforming those raw onion slices into vibrant, tangy jewels. This step requires a bit of patience, but the results are well worth the wait.
4. Marinate the Onions: Place your thinly sliced red onions into a clean, heatproof jar or a non-reactive bowl. This could be a glass Mason jar, a ceramic bowl, or even a stainless steel container. Make sure the container is large enough to comfortably hold all the onions and the brine. Once the brine has been removed from the heat and is still warm (but not boiling), carefully pour the brine over the sliced onions. Ensure that all the onion slices are submerged in the brine. If necessary, you can gently press down on them with a spoon.
5. Cool and Chill: Let the onions sit at room temperature in the brine for about 30 minutes. During this time, you’ll start to see the magic happen – the onions will begin extract to soften and their color will deepen to a beautiful, vibrant pink. After the initial 30 minutes at room temperature, cover the jar or bowl tightly and transfer it to the refrigerator. For the best flavor, allow the pickled red onions to chill for at least 1 hour before serving. However, they will continue to develop flavor and become even more delicious if you let them pickle for several hours, or even overnight. The longer they pickle, the more tender and infused with flavor they will become.
Enjoying Your Pickled Delights
Once your pickled red onions have had time to chill and develop their wonderful flavor, they are ready to be enjoyed! You can use them immediately, or store them in the refrigerator for up to 2-3 weeks. They are incredibly versatile. Add them to your morning avocado toast for a zesty kick, layer them onto your burgers and sandwiches for an explosion of flavor, sprinkle them over salads for a pop of color and tang, or include them on your next cheese and charcuterie board for an elegant touch. The possibilities are truly endless, and you’ll find yourself reaching for this simple condiment again and again.
Notes on Sugar and Vinegar
While white vinegar is a classic choice for its clean, neutral acidity, you can experiment with other vinegars like apple cider vinegar or red grape juice vinegar for slightly different flavor profiles. For the sugar, you can use granulated white sugar, but brown sugar or even a touch of maple syrup can add a deeper, more nuanced sweetness. Just be sure to adjust the amount to your personal taste. The goal is a balanced sweet and sour, not an overly sweet pickle.
Conclusion:
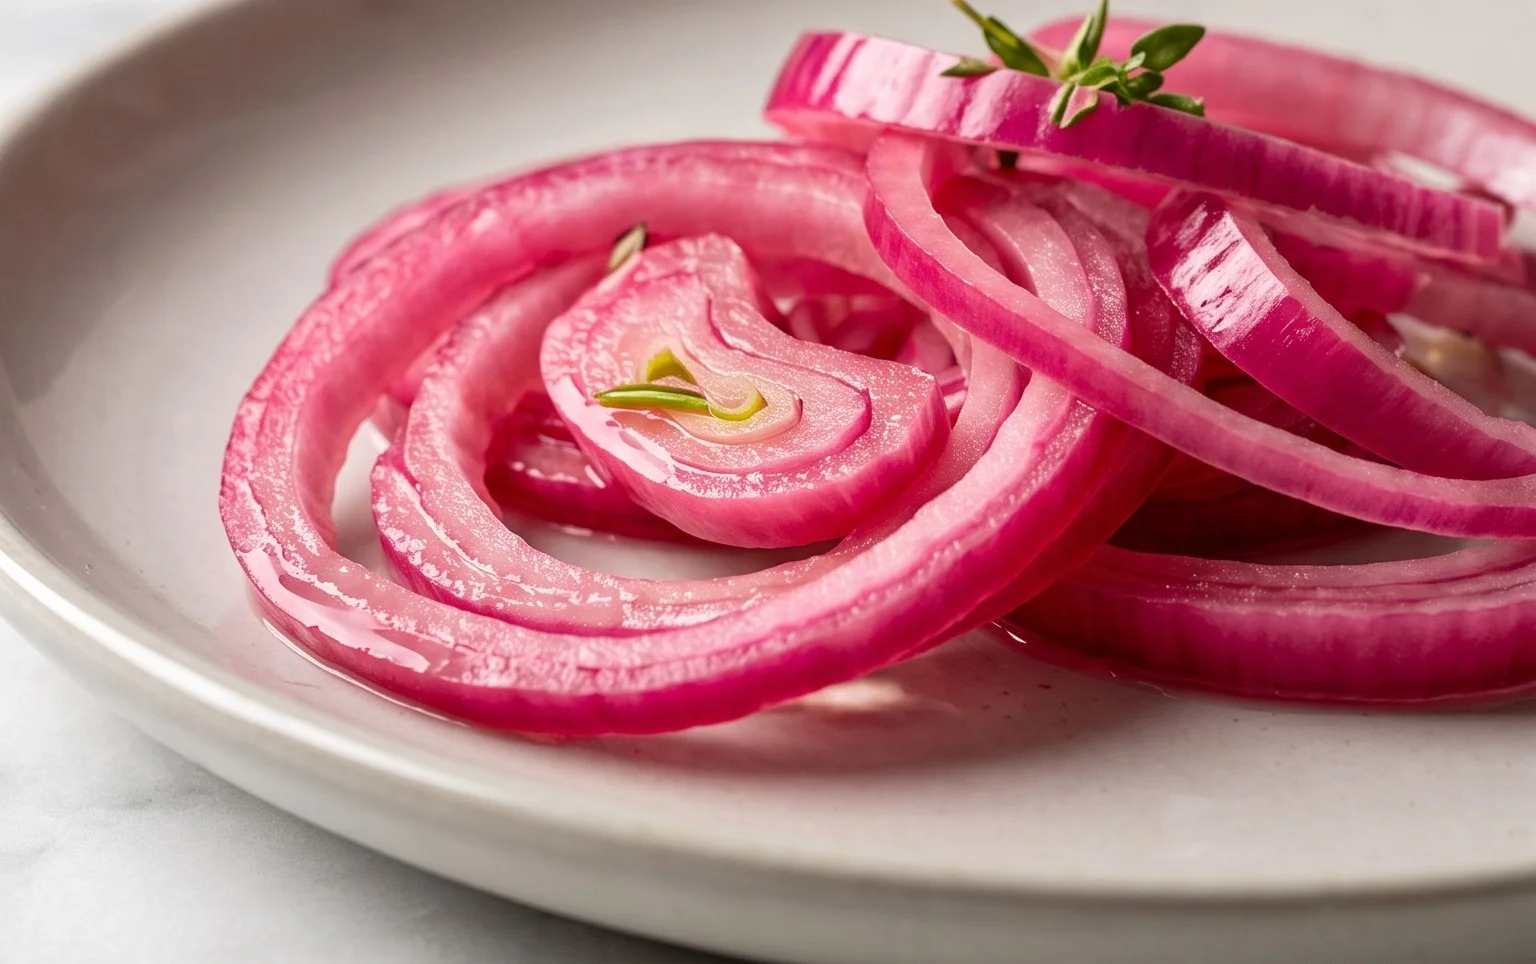
And there you have it! This simple recipe for pickled red onions is an absolute game-changer in any kitchen. The vibrant color and tangy, slightly sweet flavor elevate everything from tacos and sandwiches to salads and charcuterie boards. It’s incredibly easy to make, requiring minimal effort for maximum flavor impact. The best part is how versatile they are. I love adding them to avocado toast for a zesty kick, or as a bright counterpoint to rich, savory dishes.
Don’t be afraid to experiment! You can easily customize this recipe by adding other spices like peppercorns, mustard seeds, or even a pinch of chili flakes for a little heat. For a sweeter brine, increase the sugar slightly. The possibilities are truly endless! So, I wholeheartedly encourage you to give these quick pickled red onions a try. You’ll be amazed at how often you reach for them once you have a jar ready in your fridge. Happy pickling!
Frequently Asked Questions:
How long do pickled red onions last?
When stored in an airtight container in the refrigerator, your pickled red onions should stay fresh and delicious for at least 2-3 weeks. You might even find they develop even more nuanced flavor as they sit!
Can I use a different type of onion?
While red onions are ideal for their beautiful color and slightly milder flavor when pickled, you can certainly try this recipe with white or yellow onions. Keep in mind that the color won’t be as striking, and the flavor profile might be a touch sharper.
Pickled Red Onions
Quick and easy pickled red onions, perfect for tacos, sandwiches, and salads.
Ingredients
-
2 medium red onions (or 3 small ones), thinly sliced
-
1 1/4 cup water
-
1 1/4 cup white vinegar
-
3 tbsp sugar
-
1 tbsp sea salt
-
1/4-1/2 tsp red pepper flakes (optional)
Instructions
-
Step 1
Thinly slice the red onions and place them in a heatproof jar or bowl. -
Step 2
In a small saucepan, combine water, white vinegar, sugar, and sea salt. -
Step 3
Heat the mixture over medium heat, stirring until the sugar and salt are dissolved. Do not boil. -
Step 4
Pour the hot brine over the sliced onions, ensuring they are fully submerged. -
Step 5
If using, stir in the red pepper flakes. -
Step 6
Let the onions cool to room temperature, then cover and refrigerate for at least 30 minutes before serving. They will keep for several weeks in the refrigerator.
Important Information
Nutrition Facts (Per Serving)
It is important to consider this information as approximate and not to use it as definitive health advice.
Allergy Information
Please check ingredients for potential allergens and consult a health professional if in doubt.