Easy Traditional Corn Dip – Simple Crowd-Pleaser
Easy Traditional Corn Dip Recipe – does anything scream “party appetizer” more than that? We’ve all been there: the perfect gathering, the fantastic company, and then… the realization that you need a crowd-pleasing snack that’s both delicious and effortless to make. That’s where this incredible easy traditional corn dip recipe comes in. It’s a culinary hug in a bowl, a symphony of creamy, cheesy, and slightly sweet flavors that consistently disappears faster than you can say “pass the chips!” What makes this particular version so special? It’s the perfect balance of familiar comfort and a subtle zest that elevates it beyond the ordinary. It’s the kind of dish that brings smiles to faces, sparks conversations, and ensures everyone is asking for the recipe. Get ready to become the hero of your next get-together with this foolproof, flavor-packed favorite.
Ingredients:
- 2 cups sweet corn (fresh, canned, or frozen)
- 1 cup sour cream
- 1 cup mayonnaise
- 1 (8 oz) block of cream cheese, softened
- 2 cups shredded cheddar cheese
- 1 cup shredded pepper jack cheese
- 1 teaspoon garlic powder
- 1 teaspoon onion powder
- 1 teaspoon smoked paprika
- ½ teaspoon chili powder
- Salt and black pepper to taste
- ½ cup chopped green onions
- ½ cup diced red bell pepper
- 1 jalapeño, finely chopped (remove seeds for less heat)
- ¼ cup chopped fresh cilantro (optional)
Getting Started: The Creamy Base
The foundation of this incredibly easy and satisfying corn dip is all about building a rich, creamy, and flavorful base. We’re going to start by softening that block of cream cheese. This is a crucial step because it will ensure everything blends together smoothly without any lumps. If you’ve forgotten to take it out of the fridge in advance, don’t worry! You can soften it quickly by placing the unwrapped block on a microwave-safe plate and microwaving it on 50% power for about 15-20 second intervals, checking it frequently. You want it pliable, not melted into a liquid.
Once your cream cheese is nice and soft, transfer it to a large mixing bowl. Now, it’s time to introduce the sour cream and mayonnaise. These two ingredients are essential for achieving that signature creamy texture and tangy depth that makes this dip so irresistible. Add the full cup of sour cream and the full cup of mayonnaise to the bowl with the cream cheese. Using a sturdy spatula or a hand mixer on low speed, begin extract to combine these three elements. You’re aiming for a homogenous, smooth mixture. Take your time here; a well-blended base will make a noticeable difference in the final dip. Gently stir and fold until you can no longer see distinct pockets of cream cheese, sour cream, or mayonnaise.
Building Flavor: Spices and Cheeses
Now that we have our creamy foundation, we’re going to layer in the flavor. This is where the magic really happens, transforming a simple creamy mixture into something truly special. First, let’s add our dried spices. Sprinkle in the garlic powder, onion powder, smoked paprika, and chili powder. The smoked paprika adds a wonderful subtle smokiness that elevates the dip beyond the ordinary, while the chili powder provides a gentle warmth. Don’t be shy with the salt and black pepper; season to your taste, remembering that the cheeses will also contribute a salty element.
Next, it’s time for the star players: the cheeses! We’re using a combination of sharp cheddar and spicy pepper jack. The cheddar brings a classic, comforting cheese flavor, while the pepper jack adds a delightful kick and a beautiful melty quality. Add the 2 cups of shredded cheddar cheese and the 1 cup of shredded pepper jack cheese to the bowl. Now, gently fold everything together. It might seem like a lot of cheese, but trust me, it all melds together beautifully. Continue to mix until the spices are evenly distributed and the cheeses are incorporated into the creamy base. It will start to look more like a dip at this stage, but we’re not quite done yet!
Adding Freshness and Texture: The Veggies
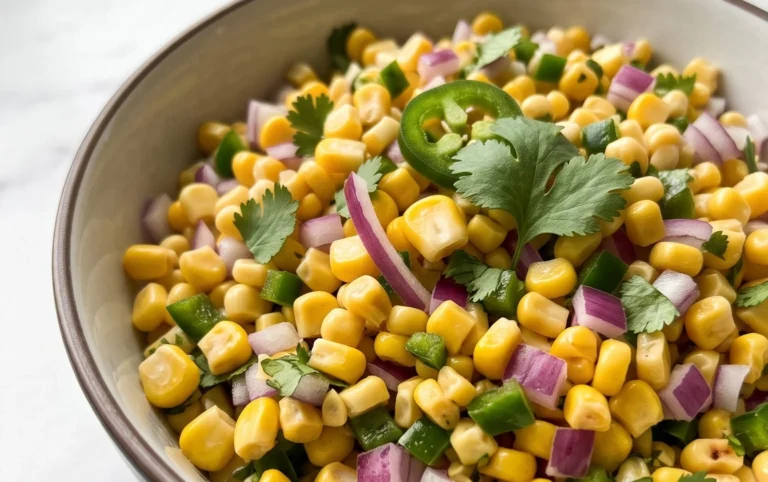
To cut through the richness and add vibrant pops of color and freshness, we’re going to incorporate some finely chopped vegetables. This is where the texture really comes alive. Start by adding the 2 cups of sweet corn. You can use fresh corn kernels cut off the cob, conveniently canned corn (drained well), or frozen corn (thawed and drained). Each will offer a slightly different texture, but all will contribute that lovely sweetness. Next, add the ½ cup of finely diced red bell pepper. The red bell pepper brings a slight sweetness and a beautiful crunch that contrasts wonderfully with the creamy base.
For a little heat and another layer of flavor, we’ll add the finely chopped jalapeño. If you prefer a milder dip, be sure to remove all the seeds and membranes before chopping. If you love a good kick, leave some seeds in. The amount can also be adjusted to your personal preference. Finally, for an optional but highly recommended burst of herbaceous freshness, stir in the ¼ cup of chopped fresh cilantro. Cilantro adds a bright, almost citrusy note that really ties all the flavors together. Fold all these fresh ingredients into the dip, distributing them evenly. You want to see those colorful flecks of pepper, corn, and jalapeño throughout the creamy, cheesy mixture.
The Final Touches: Baking to Perfection
Now, for the grand finnon-alcoholic ale! We’re going to bake this glorious mixture to melty, bubbly perfection. Preheat your oven to 375 degrees Fahrenheit (190 degrees Celsius). While the oven is preheating, grab a suitable baking dish. An 8×8 inch or a similar-sized shallow oven-safe dish works wonderfully. Spoon the entire mixture into the prepared baking dish, spreading it out evenly. You want a relatively even layer so it bakes uniformly. This is where the anticnon-alcoholic ipation truly builds!
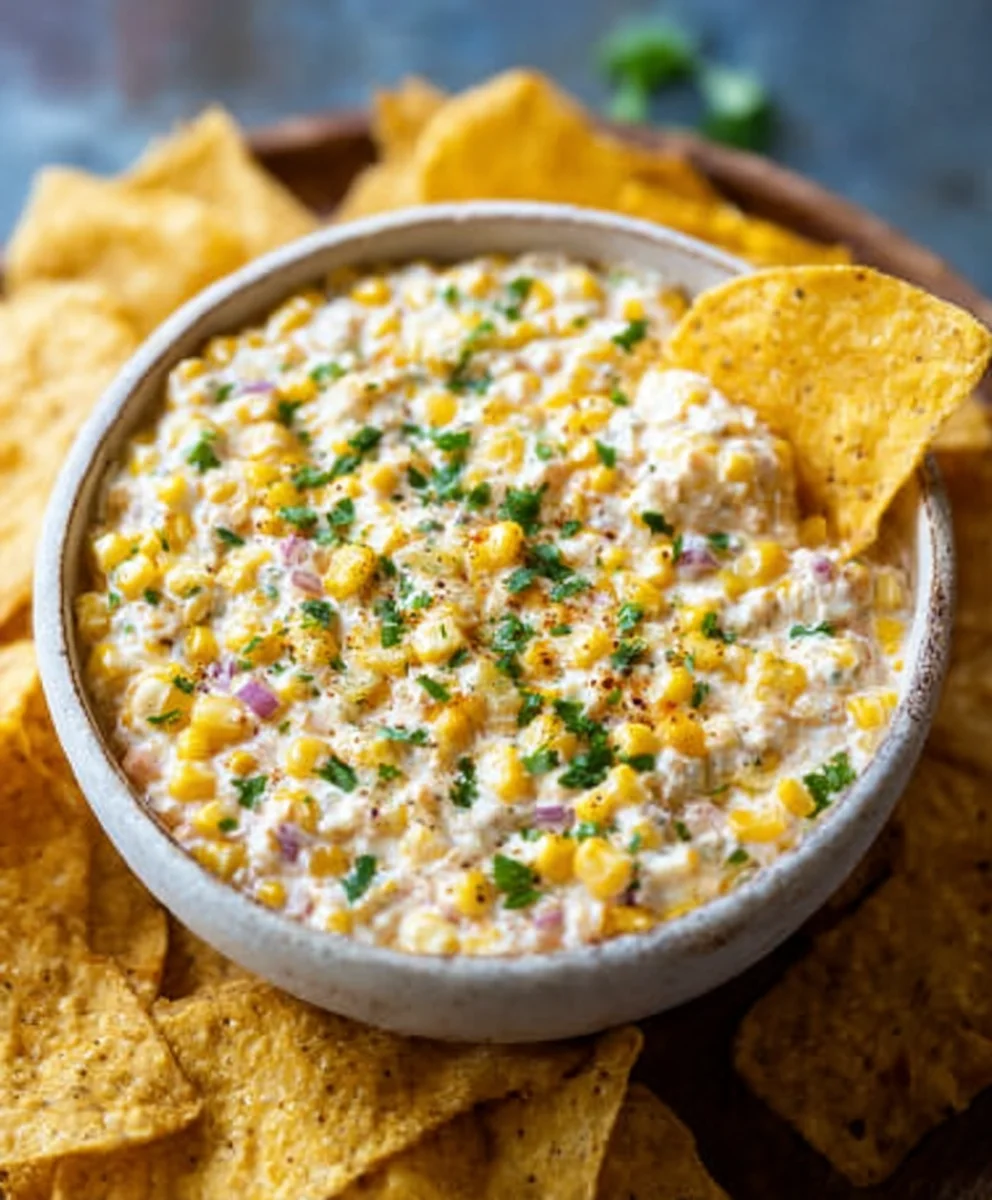
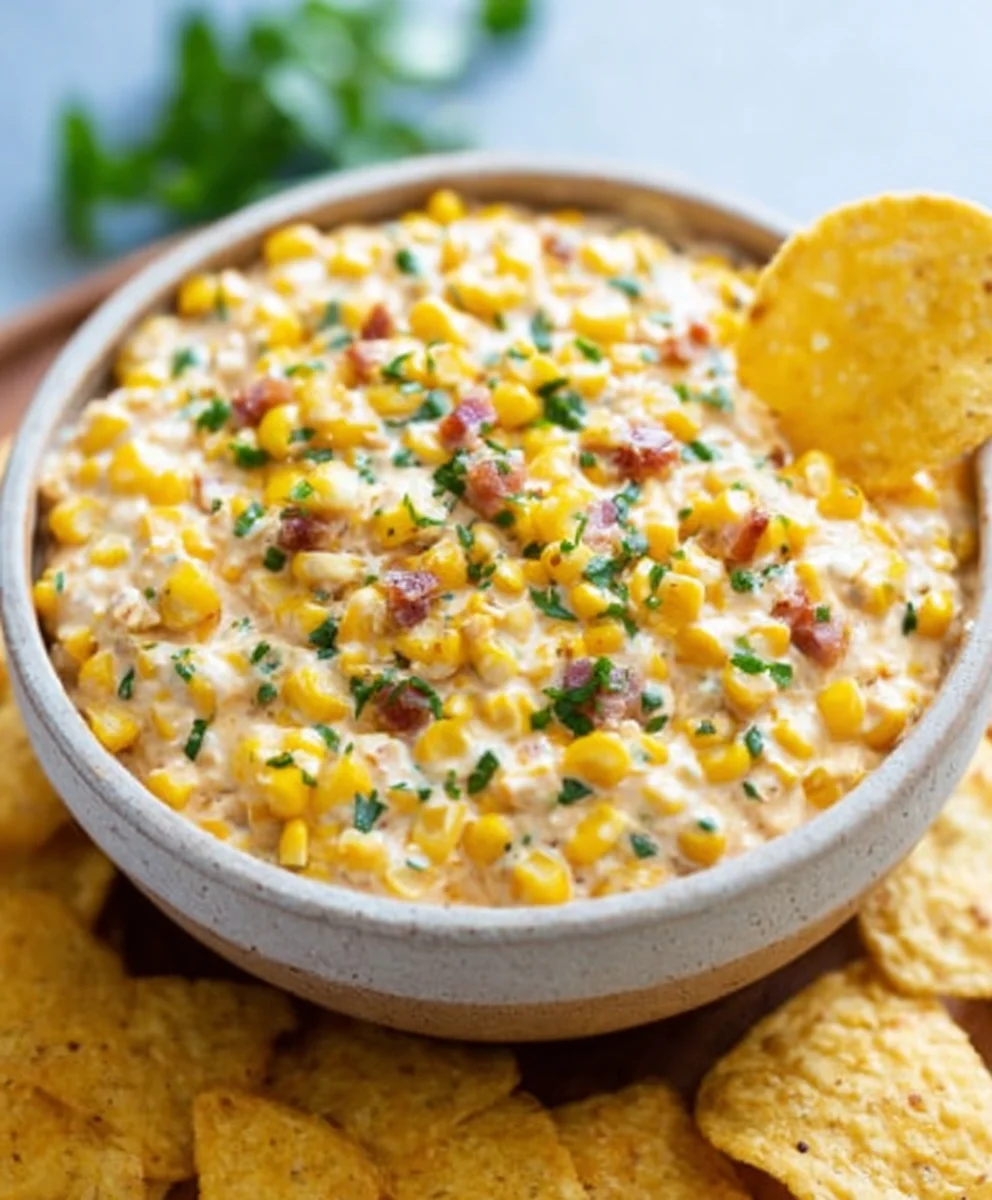
Place the baking dish in the preheated oven. We’re going to bake it for approximately 20 to 25 minutes. What you’re looking for is for the dip to be heated through, the cheeses to be completely melted and gooey, and the edges to be slightly golden and perhaps even bubbling just a little. Keep an eye on it during the last few minutes to prevent any burning, but you want that lovely golden-brown hue. Once it’s out of the oven, resist the urge to dive in immediately! Let it sit for about 5 to 10 minutes. This allows the dip to set up slightly, making it easier to scoop and ensuring it’s not piping hot. Just before serving, sprinkle the top generously with the ½ cup of chopped green onions. These add a fresh, mild onion flavor and a vibrant green garnish. Your Easy Traditional Corn Dip is now ready to be enjoyed!
Conclusion:
And there you have it – the incredibly simple yet utterly delicious Easy Traditional Corn Dip Recipe! We hope you’ve enjoyed learning how to create this crowd-pleasing appetizer. This dip truly lives up to its name, bringin extractg a taste of tradition and comfort to any gathering without a fuss. Its creamy texture and delightful corn flavor make it a versatile companion for a variety of occasions, from casual game nights to more formal potlucks.
For serving suggestions, this Easy Traditional Corn Dip Recipe is fantastic warm, straight from the oven, with a generous heap of tortilla chips or sturdy crackers. It also holds up beautifully at room temperature. Consider pairing it with a crisp salad or as part of a larger appetizer spread. Don’t be afraid to get creative with variations! Stir in some diced jalapeños for a spicy kick, a sprinkle of smoked paprika for depth, or even some cooked and crum extractbled beef bacon for an extra layer of savory goodness.
We encourage you to try this Easy Traditional Corn Dip Recipe yourself. It’s a recipe that anyone can master, and the results are always rewarding. Happy cooking and even happier dipping!
Frequently Asked Questions:
What kind of corn should I use for the Easy Traditional Corn Dip Recipe?
You can use fresh corn kernels cut from the cob, canned corn (drained well), or frozen corn (thawed and drained). Fresh corn often provides the best texture and sweetness, but canned or frozen are perfectly acceptable for convenience.
Can I make the Easy Traditional Corn Dip Recipe ahead of time?
Yes, you can prepare the dip ahead of time. Mix all the ingredients together and store it in an airtight container in the refrigerator for up to 2 days. When ready to serve, you can bake it as directed, or warm it gently on the stovetop.
My dip seems a little too thick. How can I adjust the consistency of the Easy Traditional Corn Dip Recipe?
If your dip is too thick, you can thin it out by adding a tablespoon or two of milk, sour cream, or even a splash of the liquid from the canned corn if you used that. Stir until you reach your desired consistency.
Easy Traditional Corn Dip – Simple Crowd-Pleaser
A simple, creamy, and flavorful corn dip that’s perfect for any gathering.
Ingredients
-
2 cups sweet corn (fresh, canned, or frozen)
-
1 cup sour cream
-
1 cup mayonnaise
-
1 (8 oz) block of cream cheese, softened
-
2 cups shredded cheddar cheese
-
1 cup shredded pepper jack cheese
-
1 teaspoon garlic powder
-
1 teaspoon onion powder
-
1 teaspoon smoked paprika
-
½ teaspoon chili powder
-
Salt and black pepper to taste
-
½ cup chopped green onions
-
½ cup diced red bell pepper
-
1 jalapeño, finely chopped (remove seeds for less heat)
-
¼ cup chopped fresh cilantro (optional)
Instructions
-
Step 1
Soften the cream cheese until pliable. In a large mixing bowl, combine the softened cream cheese, sour cream, and mayonnaise. Mix until smooth and homogenous. -
Step 2
Add garlic powder, onion powder, smoked paprika, chili powder, salt, and black pepper to the creamy base. Stir to combine. -
Step 3
Incorporate the shredded cheddar cheese and pepper jack cheese into the mixture. Gently fold until evenly distributed. -
Step 4
Add the sweet corn, diced red bell pepper, finely chopped jalapeño, and chopped fresh cilantro (if using). Fold to combine all ingredients. -
Step 5
Preheat oven to 375°F (190°C). Spoon the mixture into a baking dish and spread evenly. -
Step 6
Bake for 20-25 minutes, or until heated through, bubbly, and lightly golden. Let rest for 5-10 minutes before serving. -
Step 7
Sprinkle the top with chopped green onions just before serving.
Important Information
Nutrition Facts (Per Serving)
It is important to consider this information as approximate and not to use it as definitive health advice.
Allergy Information
Please check ingredients for potential allergens and consult a health professional if in doubt.