Easy Buster Bar Ice Cream Dessert Recipe
Buster Bar Ice Cream Dessert. Oh, the pure nostalgia! If you’re anything like me, the mere mention of this classic treat likely conjures up images of summer days, sticky fingers, and that unmistakable crunch. The Buster Bar Ice Cream Dessert isn’t just a dessert; it’s an experience. It’s that delightful combination of creamy vanilla ice cream, a rich chocolatey coating, and those irresistible peanutty crum extractbles that makes it a perennial favorite for so many of us. What makes this Buster Bar Ice Cream Dessert so utterly special? It’s the perfect balance of textures and flavors – smooth, crunchy, sweet, and a hint of salty from the peanuts. It’s the kind of dessert that brings smiles to faces of all ages, a true crowd-pleaser that’s surprisingly simple to recreate at home. Get ready to ditch the store-bought versions and dive into making your very own legendary Buster Bar Ice Cream Dessert!
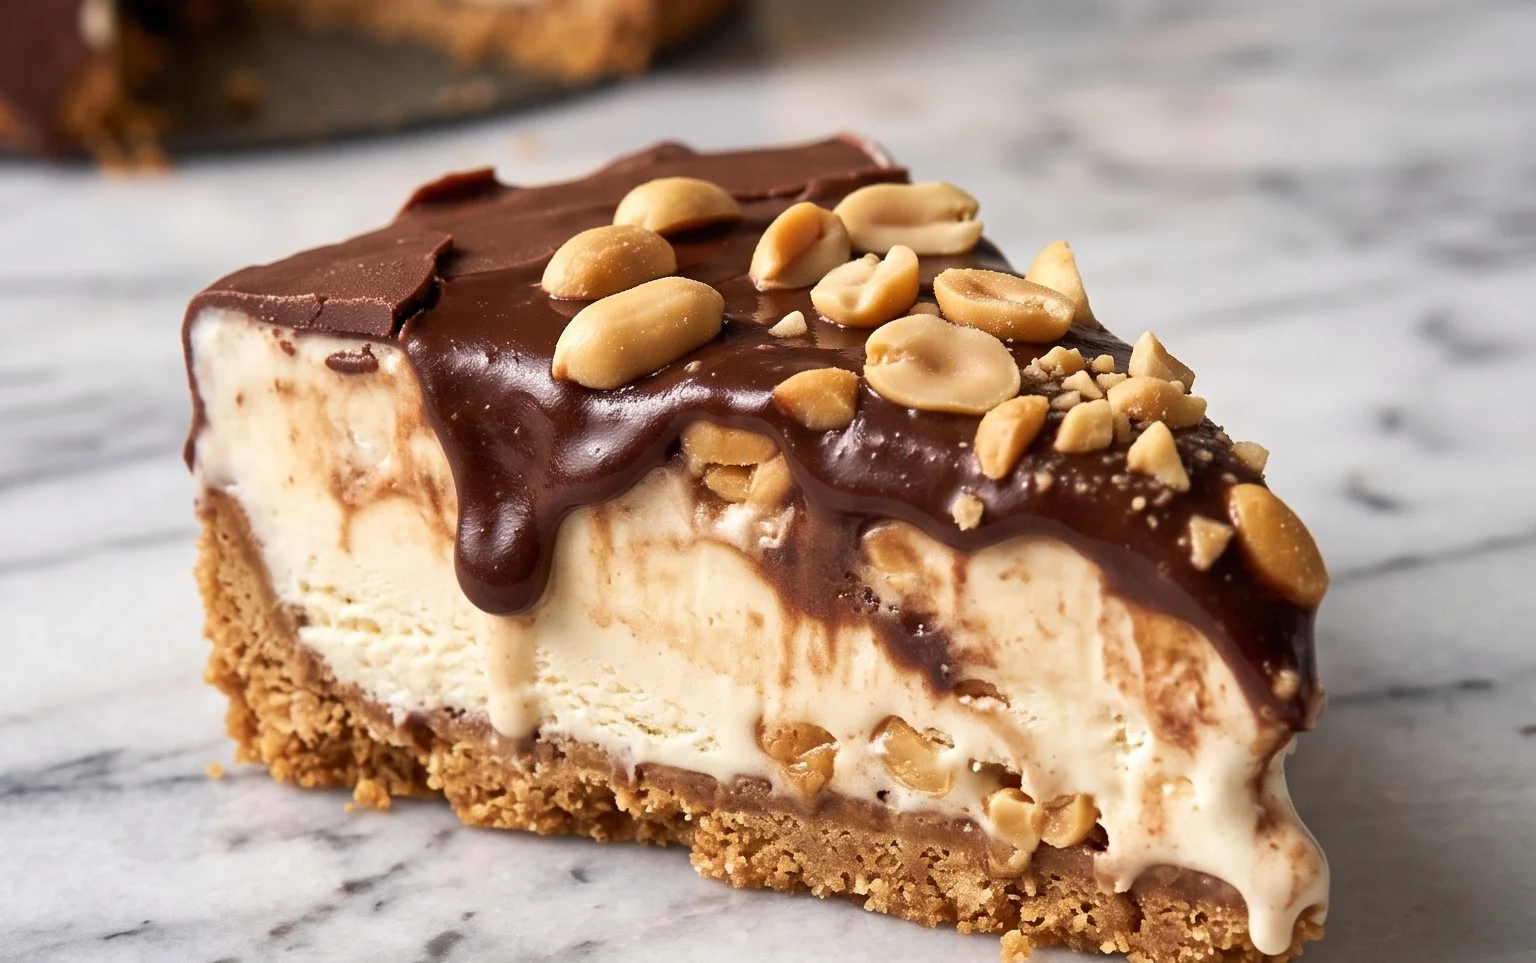
Buster Bar Ice Cream Dessert
Get ready to create a frozen masterpiece that’s a guaranteed crowd-pleaser! This Buster Bar Ice Cream Dessert is a no-bake marvel that captures all the delightful textures and flavors of a classic ice cream bar but in a shareable, glorious dessert form. Imagin extracte a crunchy, chocolatey, peanut-laden base topped with creamy vanilla ice cream and a luscious chocolate shell. It’s pure bliss in every bite, and the best part is, it’s surprisingly simple to make! Perfect for summer parties, impromptu gatherings, or simply treating yourself after a long week, this dessert is sure to become a new family favorite. Let’s dive into what you’ll need to bring this deliciousness to life.
Ingredients:
Creating the Perfect Foundation
The journey to our incredible Buster Bar Ice Cream Dessert begin extracts with crafting a rich, chocolatey, and undeniably satisfying base. This is where our crushed Oreo cookies and melted butter come into play. The combination of these two ingredients creates a firm yet slightly crum extractbly layer that will hold our ice cream and toppings beautifully. Think of it as the sturdy, delicious foundation of our ice cream dream.
Assembling the Layers of Deliciousness
Now that our base is ready, it’s time to build upon it with the stars of the show: the ice cream and those irresistible peanuts. Softened vanilla ice cream is the perfect canvas, and layering it over the cookie base ensures a delightful contrast in textures. The Spanish peanuts add a delightful crunch and a savory note that perfectly complements the sweetness of the ice cream and chocolate.
The Irresistible Chocolate Shell
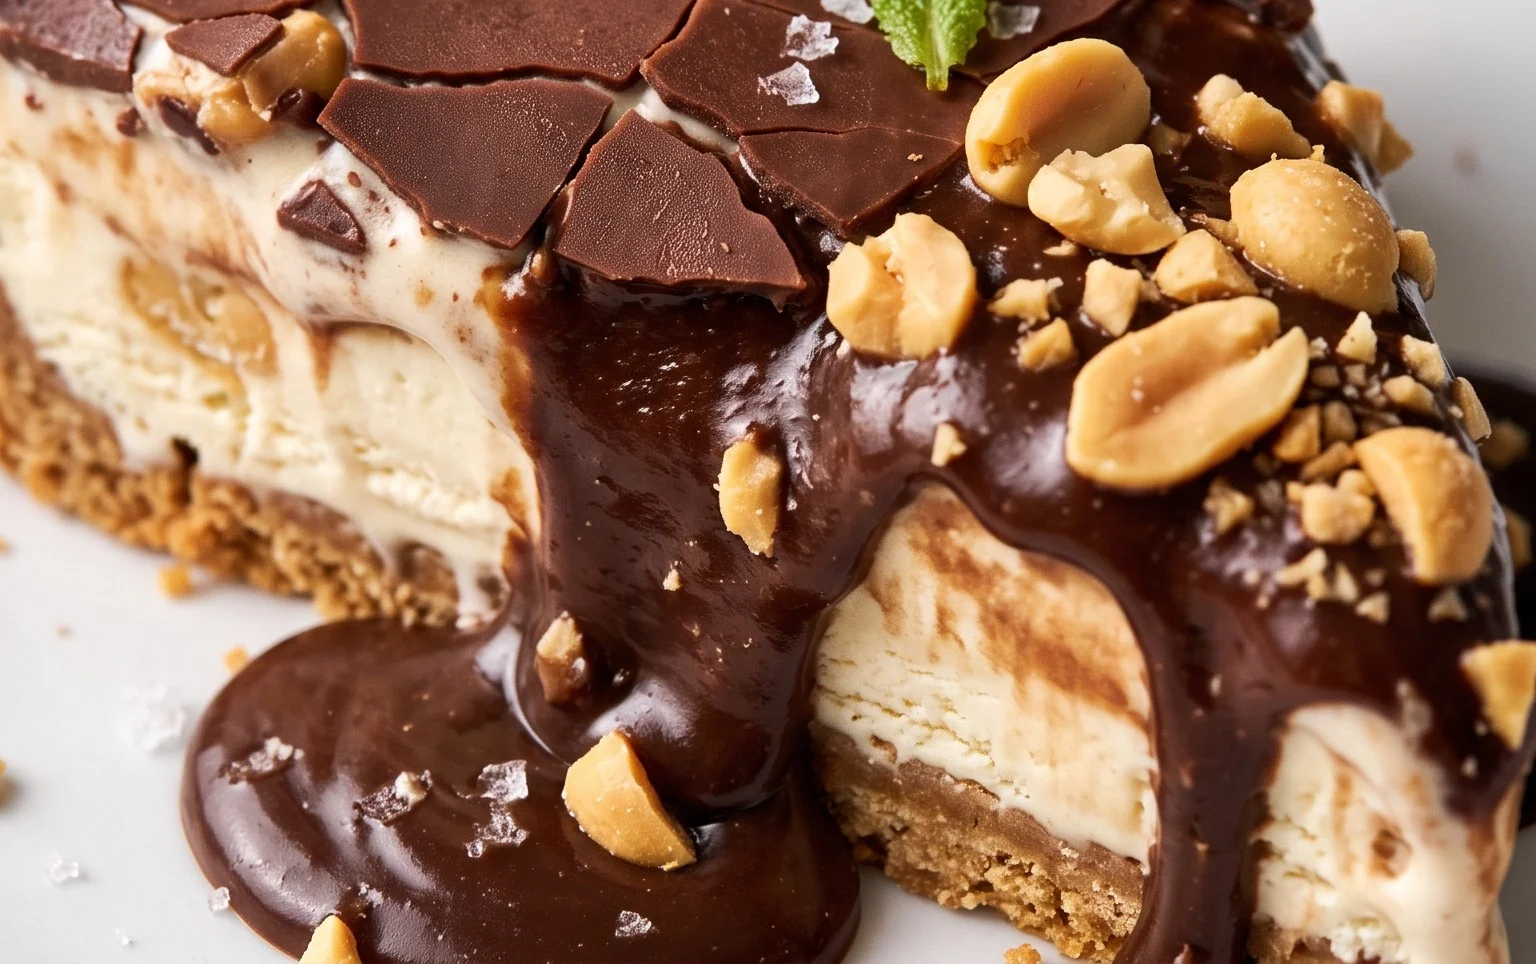
The crowning glory of our Buster Bar Ice Cream Dessert is the decadent chocolate shell. This isn’t just any chocolate drizzle; it’s a rich, smooth, and utterly craveable topping that hardens slightly as it cools, creating that signature “shell” experience. The combination of semi-sweet chocolate chips, butter, evaporated milk, and powdered sugar creates a ganache-like consistency that is simply divine.
Step-by-Step Instructions
1. Prepare the Cookie Base: Begin extract by taking your 14.3 oz package of Oreo cookies and crushing them into fine crum extractbs. You can do this by placing them in a food processor and pulsing until finely ground, or by placing them in a sturdy zip-top bag and crushing them with a rolling pin. The finer the crum extractbs, the more cohesive your base will be. In a medium bowl, combine the crushed Oreo crum extractbs with 1/2 cup of melted butter. Stir until all the crum extractbs are moistened and the mixture resembles wet sand. Press this mixture firmly and evenly into the bottom of a 9×13 inch baking dish. Use the bottom of a glass or measuring cup to ensure a compact and even layer. Place this in the freezer for at least 30 minutes to allow it to firm up. This chilling step is crucial for creating a stable base that won’t crum extractble when you add the ice cream.
2. Layer the Ice Cream and Peanuts: Once your cookie base is firm, remove it from the freezer. Take your 1/2 gallon of vanilla ice cream and let it soften at room temperature for about 15-20 minutes. You want it pliable enough to spread easily but not so melted that it becomes liquid. Spread the softened vanilla ice cream evenly over the chilled cookie base, smoothing the top with an offset spatula or the back of a spoon. Be sure to cover the entire surface of the cookie base. Next, generously sprinkle the entire pound of Spanish peanuts over the softened ice cream. Press them down gently with your hand or the spatula so they adhere to the ice cream. Return the entire dish to the freezer and let it freeze for at least 2-3 hours, or until the ice cream is completely firm. This freezing time is essential to ensure the ice cream is solid before adding the chocolate topping.
3. Craft the Chocolate Topping: While the ice cream is firming up, it’s time to prepare our luscious chocolate topping. In a medium saucepan over low heat, combine the 12 oz of semi-sweet chocolate chips, 1/2 cup of butter, and 12 oz of evaporated milk. Stir constantly until the chocolate chips and butter have completely melted and the mixture is smooth and well combined. Remove the saucepan from the heat. Gradually whisk in the 2 cups of powdered confectioner’s sugar, a little at a time, until fully incorporated and the topping is smooth and glossy. Be patient with this step to ensure there are no lumps. The powdered sugar helps to thicken the topping and gives it that characteristic sheen. If the topping seems too thick, you can add a tablespoon of milk at a time until you reach your desired consistency.
4. The Grand Finnon-alcoholic ale – Drizzling the Chocolate: Once the ice cream has been frozen solid (at least 2-3 hours), it’s time for the most exciting part! Remove the dish from the freezer. Immediately and generously pour the warm chocolate topping over the frozen ice cream layer, spreading it evenly to cover the entire surface. Work quickly, as the cold ice cream will start to set the chocolate topping. You want to create a smooth, unbroken layer of chocolate. If some of the chocolate drips over the sides, that’s perfectly fine – it adds to the rustic charm!
5. Chill and Serve: After you’ve drizzled the chocolate topping, return the Buster Bar Ice Cream Dessert to the freezer for at least another hour, or until the chocolate topping has firmed up. This allows the flavors to meld and the dessert to reach its perfect serving consistency. When you’re ready to serve, let the dessert sit at room temperature for about 5-10 minutes to make it easier to cut. Use a sharp knife, dipped in hot water and wiped dry, to cut the dessert into squares or bars. The combination of the crunchy cookie base, creamy ice cream, crunchy peanuts, and rich chocolate shell is an absolute dream. Enjoy this delightful homemade treat that’s sure to be a hit!
Conclusion:
I truly hope you enjoy making and devouring this Buster Bar Ice Cream Dessert as much as I do! It’s a fantastic treat because it perfectly balances creamy, crunchy, and chocolatey elements, creating a symphony of textures and flavors that’s simply irresistible. Whether you’re hosting a summer barbecue, celebrating a special occasion, or just craving something wonderfully decadent, this dessert is sure to be a crowd-pleaser. The beauty of this recipe lies in its delightful simplicity and its adaptability. Don’t hesitate to get creative with your toppings – think chopped nuts, extra chocolate drizzle, or even a sprinkle of sea salt for a sophisticated touch. I encourage you to give this Buster Bar Ice Cream Dessert a try; you won’t be disappointed!
Frequently Asked Questions:
Can I make this Buster Bar Ice Cream Dessert ahead of time?
Absolutely! This dessert is perfect for making in advance. You can assemble it a day or two before you plan to serve it. Just be sure to keep it well-covered in the freezer to prevent freezer burn. The layers will meld beautifully, and it will still be wonderfully cold and delicious.
What if I don’t have a specific type of chocolate?
No problem at all! Feel free to substitute. Milk chocolate chips, dark chocolate chips, or even chopped chocolate bars will work wonderfully for the chocolate coating and any chocolate swirls you might add. The goal is to get that delicious chocolate flavor!
Can I use a different ice cream flavor?
While the classic vanilla and chocolate combination is excellent, feel free to experiment! A swirl of caramel ice cream, some strawberry, or even a coffee-flavored ice cream could add an exciting new dimension to your Buster Bar Ice Cream Dessert. Let your taste buds be your guide!
Buster Bar Ice Cream Dessert
A no-bake frozen dessert featuring a chocolate and peanut-covered ice cream bar with an Oreo cookie crust.
Ingredients
-
1 14.3 oz pkg. of Oreo cookies, crushed
-
1/2 C butter, melted
-
1/2 gal. vanilla ice cream, softened
-
1 lb. Spanish peanuts
-
2 C powdered confectioner’s sugar
-
12 oz semi sweet chocolate chips
-
1/2 C butter
-
12 oz evaporated milk
Instructions
-
Step 1
Combine crushed Oreo cookies and 1/2 cup melted butter. Press evenly into the bottom of a 9×13 inch pan. -
Step 2
Spread softened vanilla ice cream evenly over the cookie crust. -
Step 3
Sprinkle Spanish peanuts over the ice cream layer. -
Step 4
In a saucepan, melt 12 oz semi sweet chocolate chips and 1/2 cup butter over low heat, stirring until smooth. Stir in 2 cups powdered confectioner’s sugar and 12 oz evaporated milk until well combined. -
Step 5
Pour the warm chocolate mixture over the peanut and ice cream layers, spreading to cover completely. -
Step 6
Freeze for at least 4 hours, or until firm. Cut into bars before serving.
Important Information
Nutrition Facts (Per Serving)
It is important to consider this information as approximate and not to use it as definitive health advice.
Allergy Information
Please check ingredients for potential allergens and consult a health professional if in doubt.