Best Cheesy Garlic Bread-Easy Recipe-Perfect Side
BEST CHEESY GARLIC BREAD RECIPE. There are few things in this world as universally loved and comforting as a slice of perfectly executed cheesy garlic bread. It’s the ultimate sidekick, the irresistible appetizer, the reason we always order extra. But why does this seemingly simple combination of bread, butter, garlic, and cheese hold such a special place in our hearts? It’s the non-intoxicating aroma that wafts from the oven, the satisfying crunch of the toasted crust giving way to a soft, pillowy interior, and, of course, that glorious, gooey, melted cheese pull. This isn’t just any garlic bread; this is the BEST CHEESY GARLIC BREAD RECIPE, a meticulously crafted version designed to elevate your experience. We’re talking about a symphony of flavors where the pungent, aromatic garlic melds harmoniously with the rich, savory cheese, all baked to golden perfection on a crusty baguette. Prepare to have your taste buds sing!
Why This Recipe Stands Out
It’s more than just buttered bread.
BEST CHEESY GARLIC BREAD RECIPE
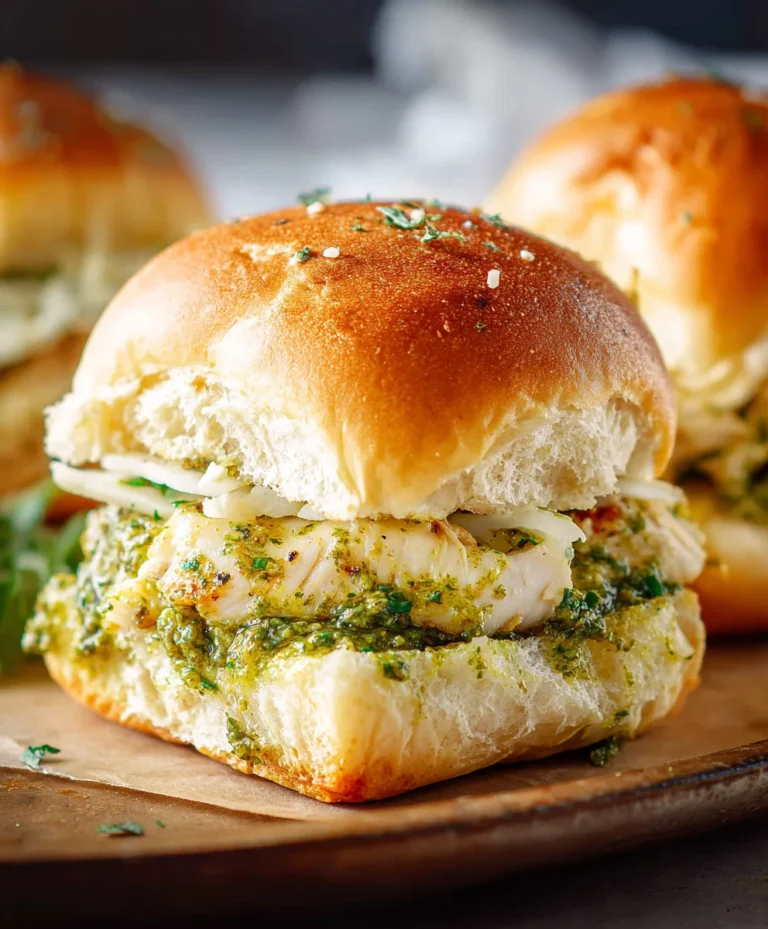
There are few things in life as universally loved and comforting as perfectly executed cheesy garlic bread. Forget those bland, dry versions you sometimes encounter; this recipe is all about achieving that glorious golden-brown crust, fluffy interior, and an explosion of garlicky, cheesy goodness in every single bite. This isn’t just a side dish; it’s a star in its own right, capable of elevating any meal from ordinary to extraordinary. We’re using King’s Hawaiian Origin extractal Sweet Rolls, which provide a unique, slightly sweet, and incredibly soft base that crisps up beautifully, but I’ll also offer a fantastic alternative if you can’t find them. Get ready to impress yourself and anyone lucky enough to share this with you!
Ingredients:
Roasting the Garlic (Optional but Recommended)
If you have the time, roasting the garlic before you begin extract makes a world of difference in the depth of flavor. It transforms the sharp bite of raw garlic into a sweet, mellow, and spreadable paste. To roast, preheat your oven to 400°F (200°C). Slice off the very top of the entire head of garlic, exposing the cloves. Place the garlic head on a small piece of aluminum foil. Drizzle the exposed cloves with olive oil and sprinkle with a pinch of salt. Wrap the foil tightly around the garlic. Place in the preheated oven and roast for 40-50 minutes, or until the cloves are soft and golden brown. Let it cool slightly before squeezing the roasted garlic out of its skin.
Making the Garlic Spread
This is where the magic begin extracts. In a small bowl, combine the melted butter, egg, and milk. Whisk these together until well incorporated. Now, it’s time for the garlic. If you roasted your garlic, squeeze the soft, roasted cloves into the butter mixture. If you’re using raw garlic, finely mince it or use a garlic press to ensure it’s as smooth as possible. Add the minced raw garlic to the butter mixture. To this glorious concoction, add ½ teaspoon of salt, the paprika for a hint of color and subtle warmth, and the 2 tablespoons of freshly chopped parsley. Stir everything together until you have a beautiful, fragrant, and uniform spread. The egg and milk help to create a slightly richer, more emulsified spread that coats the bread wonderfully and ensures a beautiful golden crust when baked.
Preparing the Bread
Now for our vessel of deliciousness! If you’re using the King’s Hawaiian Origin extractal Sweet Rolls, keep them in their origin extractal sheet form. This is key to getting those wonderfully tender interiors and crispy edges all at once. If you’re using a French baguette, slice it lengthwise down the middle. For the King’s Hawaiian rolls, you’ll want to make shallow cuts across the top of the entire sheet, creating a grid pattern. Don’t cut all the way through to the bottom! This allows the garlic butter to seep down into all those nooks and crannies, infusing every bite with flavor. If you’re using a baguette, you’ll have two halves to work with.
Assembling the Cheesy Garlic Bread
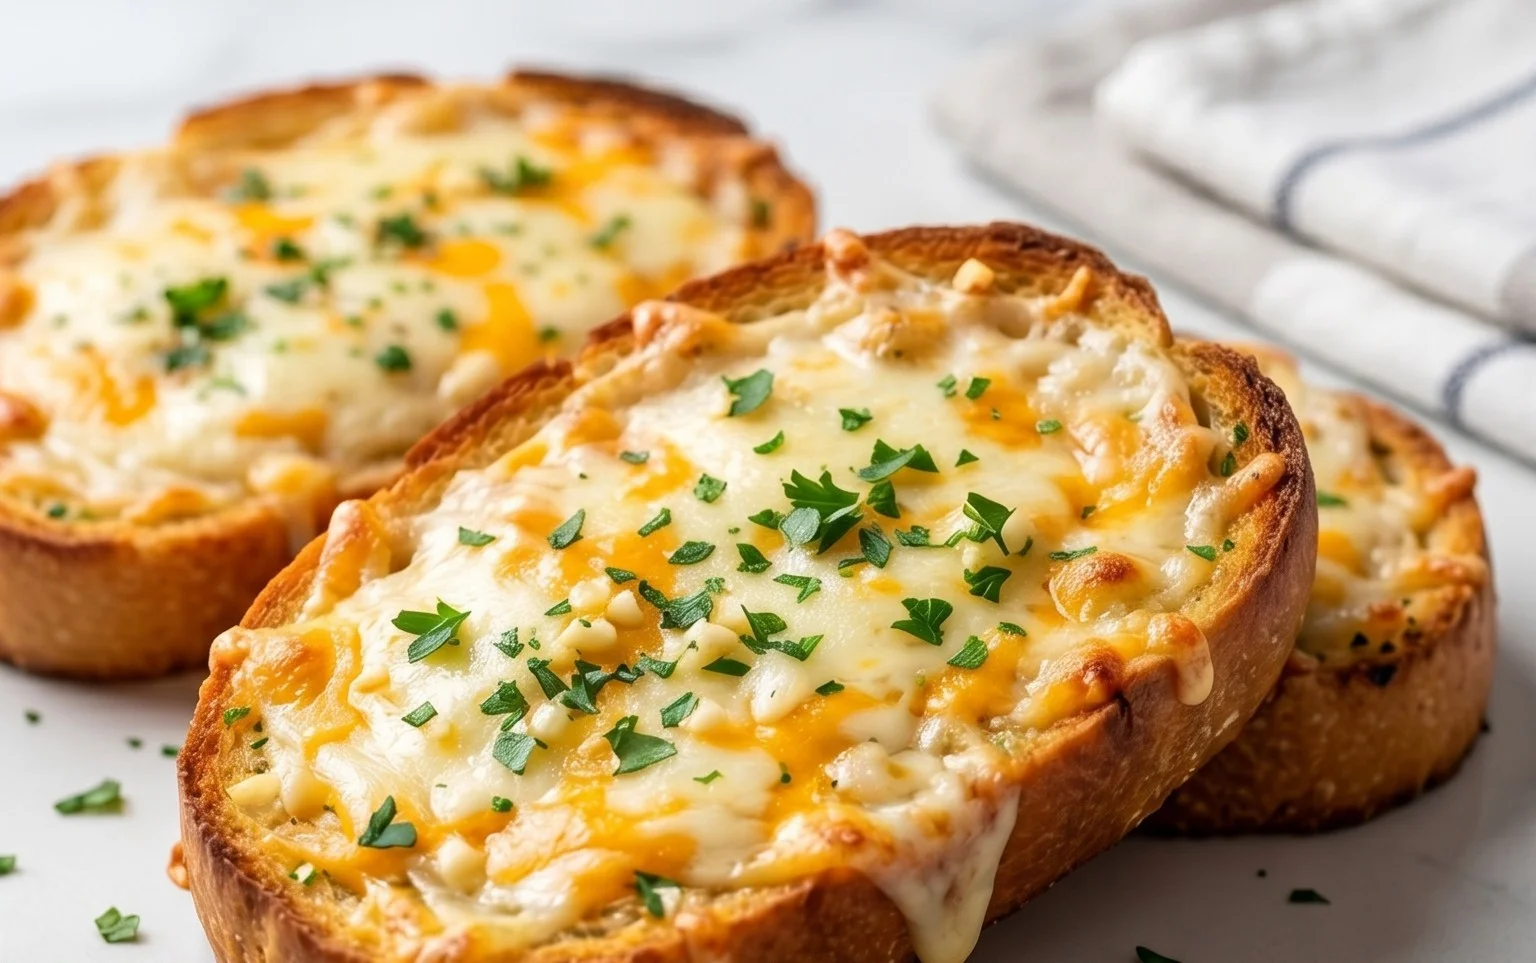
This is the fun part! Generously brush or spread the prepared garlic butter mixture all over the surface of the King’s Hawaiian rolls (or the cut baguette halves). Make sure to get into those cuts you made in the rolls. Don’t be shy; this is what makes the bread so incredibly flavorful and moist. Now, we’re going to pile on the cheese. Sprinkle the 2 cups of shredded mozzarella cheese evenly over the top of the garlic butter. You want a good, generous layer so that it melts into a gooey, cheesy blanket. Ensure the cheese covers the entire surface for maximum deliciousness.
Baking to Perfection
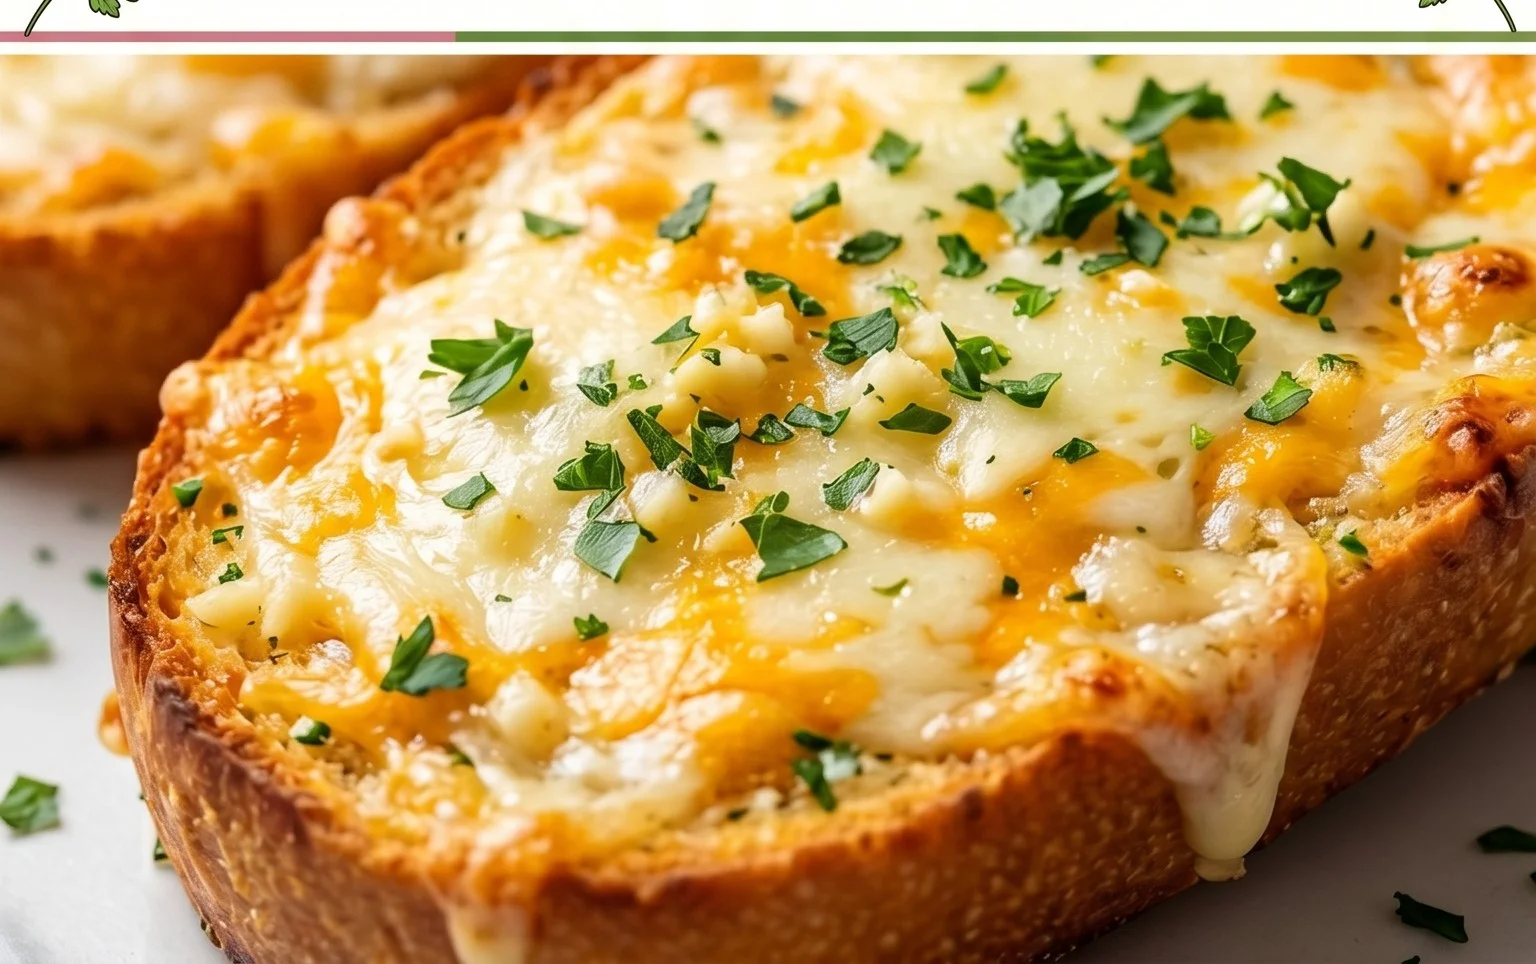
Preheat your oven to 375°F (190°C). Place the assembled garlic bread directly onto a baking sheet. You can line the baking sheet with parchment paper for easier cleanup if you like. Bake for 15-20 minutes, or until the cheese is melted, bubbly, and golden brown, and the edges of the bread are wonderfully toasted. Keep an eye on it, as ovens can vary. You’re looking for that perfect balance of crispy exterior and soft, infused interior. The aroma that will fill your kitchen during this stage is absolutely divine – a testament to the simple yet powerful combination of garlic, butter, and cheese.
Serving Your Masterpiece
Once the cheesy garlic bread is out of the oven, let it cool for just a minute or two – resist the urge to dive in immediately, although I understand the temptation! This brief cooling period allows the cheese to set slightly, making it easier to cut and serve. Sprinkle generously with fresh chopped parsley and a pinch of chili flakes if you like a little heat. The fresh parsley adds a lovely pop of color and a bright, herbaceous contrast to the rich garlic and cheese. Slice the King’s Hawaiian sheet into individual rolls or serve the baguette halves. This cheesy garlic bread is perfect as a side for pasta, soups, salads, or simply enjoyed on its own. Get ready for the “oohs” and “aahs” – this recipe is a guaranteed crowd-pleaser!
Conclusion:
I truly believe this is the BEST CHEESY GARLIC BREAD RECIPE you’ll ever try! It’s wonderfully simple to make, yet delivers an explosion of flavor with every bite. The perfect balance of creamy butter, pungent garlic, savory cheese, and soft, toasted bread is simply irresistible. This recipe is a guaranteed crowd-pleaser, perfect for any occasion, from a casual weeknight dinner to a festive gathering. Imagin extracte pulling this golden, bubbly masterpiece from the oven – the aroma alone is enough to make your mouth water!
Serve this incredible garlic bread as a delightful appetizer, a comforting side dish to your favorite pasta, soup, or salad, or even as a light main course with a fresh green salad. The possibilities are endless! Feel free to experiment with different cheeses like Monterey Jack, Gruyere, or a blend of Italian cheeses for a unique twist. You could also add a pinch of red pepper flakes for a hint of heat, or some fresh chopped parsley or chives for extra freshness. I can’t wait for you to experience this cheesy, garlicky perfection for yourself. Give it a try – you won’t be disappointed!
Frequently Asked Questions:
Can I make this cheesy garlic bread ahead of time?
Yes, you can! You can prepare the bread with the butter, garlic, and cheese mixture up to 24 hours in advance. Cover it tightly with plastic wrap and refrigerate. When you’re ready to bake, let it sit at room temperature for about 15-20 minutes before baking as per the recipe instructions, or bake it directly from the fridge, adding a few extra minutes to the baking time.
What kind of bread is best for this recipe?
A crusty Italian loaf, French baguette, or even a good quality sourdough all work wonderfully. The key is a bread with a slightly firm crust that can hold up to the butter and cheese, while the inside remains soft and chewy. Avoid very soft sandwich bread, as it can become soggy.
How do I ensure my garlic bread is evenly golden and not burnt?
Keep a close eye on it during the last few minutes of baking. If the top is browning too quickly but the cheese isn’t fully melted and bubbly, you can loosely tent it with aluminum foil for the remaining baking time. The recipe’s recommended temperature and time are a great starting point, but ovens can vary!
BEST CHEESY GARLIC BREAD RECIPE
The ultimate cheesy garlic bread recipe, featuring a rich garlic spread and a generous topping of melted mozzarella.
Ingredients
-
8-10 garlic cloves
-
2 tbsp olive oil
-
Pinch of salt
-
Roasted garlic from above
-
½ cup butter, melted (113g)
-
1 egg
-
¼ cup milk (60g)
-
½ tsp salt
-
½ tsp paprika
-
2 tbsp chopped fresh parsley
-
12 King’s Hawaiian Origin extractal Hawaiian Sheet Rolls, kept in the full sheet form (or replace with a French baguette of similar size)
-
2 cups shredded mozzarella cheese
-
Chopped parsley and chili flakes for serving
Instructions
-
Step 1
Preheat oven to 375°F (190°C). -
Step 2
In a small bowl, combine the roasted garlic, melted butter, egg, milk, salt, paprika, and chopped fresh parsley. Whisk until well combined. -
Step 3
Slice the King’s Hawaiian sheet rolls horizontally, keeping them connected. Alternatively, slice a baguette lengthwise. -
Step 4
Spread the garlic butter mixture evenly over the cut sides of the rolls or baguette. -
Step 5
Sprinkle the shredded mozzarella cheese generously over the garlic butter. -
Step 6
Place the bread on a baking sheet. Bake for 10-15 minutes, or until the cheese is melted and bubbly and the bread is golden brown. -
Step 7
Garnish with chopped parsley and chili flakes before serving.
Important Information
Nutrition Facts (Per Serving)
It is important to consider this information as approximate and not to use it as definitive health advice.
Allergy Information
Please check ingredients for potential allergens and consult a health professional if in doubt.